As homeowners, we’re always on the lookout for ways to enhance our living spaces, add value to our properties, and save a few bucks along the way. One popular avenue that many DIY enthusiasts explore is tackling home improvement projects on their own. One such project that often comes up is installing a shower head. In this comprehensive guide, we’ll delve into the world of DIY shower head installation, discussing the benefits, tools, step-by-step instructions, and even troubleshooting tips. By the end of this article, you’ll have the confidence to take on this task yourself and enjoy a refreshing shower under your newly installed shower head.
The Allure of DIY Home Projects
DIY projects hold a special place in our hearts. They provide an opportunity to channel our creativity, learn new skills, and take pride in the results of our hard work. Installing a shower head is one such project that has gained popularity among DIY enthusiasts. Not only does it empower homeowners to take charge of their living spaces, but it also offers a sense of accomplishment that comes from completing a practical task.
Why Installing a Shower Head is a Popular DIY Task
The appeal of DIY shower head installation extends beyond just the joy of working with your hands. It’s a project that resonates with many for several reasons:
Benefits of Installing a Shower Head Yourself
Cost-Saving Aspect
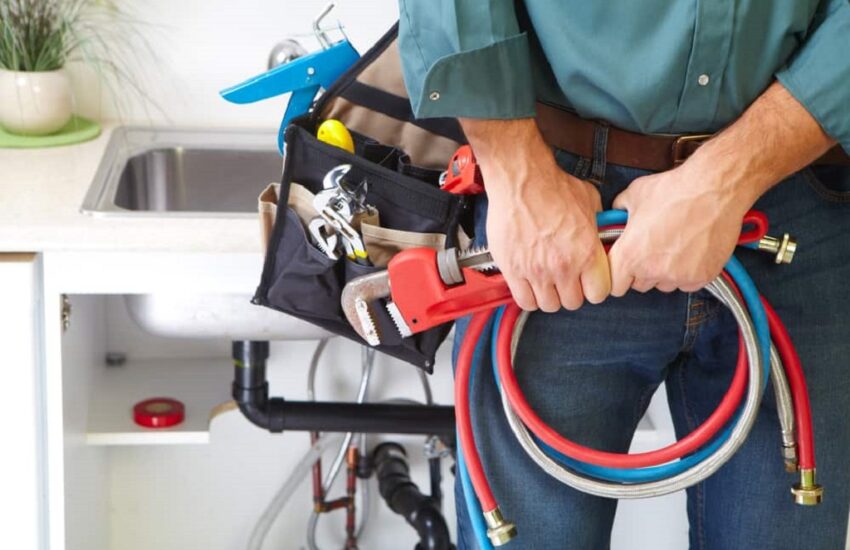
One of the most compelling reasons to embark on a DIY shower head installation is the potential for cost savings. Hiring a professional plumber for such a task can incur unnecessary expenses, especially when you can accomplish the installation with a few essential tools and a bit of guidance.
Sense of Accomplishment and Empowerment
There’s a certain satisfaction that comes from completing a DIY project, and installing a shower head is no exception. The feeling of empowerment that arises from successfully taking on a task that might seem complex at first can be incredibly rewarding. It’s a testament to your ability to learn, adapt, and create something functional within your home.
Assessing Your Shower Head and Tools
Before you dive into the installation process, it’s crucial to understand the types of shower heads available and gather the necessary tools and materials.
Different Types of Shower Heads
Shower heads come in various styles, each offering a unique bathing experience. Some common types include:
Wall-Mounted Shower Head
This classic design attaches directly to the wall and delivers water through a fixed nozzle. It’s a popular choice for its simplicity and ease of installation.
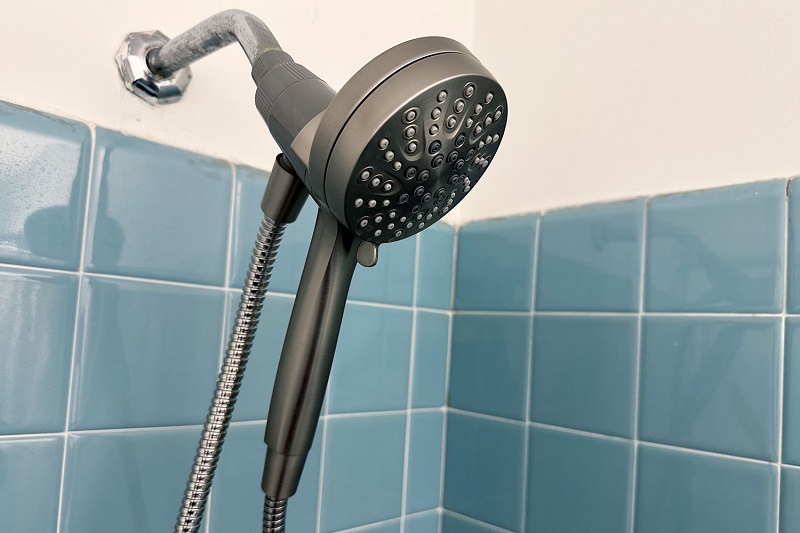
Handheld Shower Head
Handheld shower heads are versatile and convenient. They allow you to direct the water where you need it, making tasks like cleaning the shower or bathing pets a breeze.
Rainfall Shower Head
For a luxurious bathing experience, a rainfall shower head mimics the sensation of standing in a gentle rain shower. Its wide coverage area provides a spa-like ambiance.
Necessary Tools and Materials
To ensure a successful installation, gather the following tools and materials:
- Adjustable wrench
- Pipe thread tape
- Plumber’s tape
- Pliers
Preparing for the Installation
Before you start the installation process, it’s important to set the stage for success.
Gathering Materials and Tools
Make sure you have all the necessary tools and materials readily available. This will save you time and frustration during the installation process.
Shutting Off the Water Supply
Before you remove the old shower head, it’s essential to turn off the water supply to prevent any leaks or water damage.
Ensuring a Clean Work Area
Clear the area around your shower to create a clean and clutter-free workspace. This will make it easier to maneuver and install the new showerhead.
Removing the Old Shower Head
Now that you’ve prepared the work area, it’s time to remove the old shower head. Follow these steps:
- Unscrewing the Old Head: Use an adjustable wrench to carefully unscrew the old shower head from the threaded pipe.
- Cleaning the Threaded Pipe: After removing the old head, clean the threaded pipe to ensure a proper seal with the new shower head.
- Applying Thread Tape: Wrap pipe thread tape around the threaded pipe in a clockwise direction. This will create a tight seal and prevent leaks.
Choosing the Right Shower Head
Selecting the right shower head for your needs is crucial for a satisfying bathing experience. Consider the following factors:
Water Pressure
Different shower heads have varying water pressure capabilities. Choose a shower head that aligns with your preferred water pressure level for a comfortable shower.
Spray Patterns
Some shower heads offer adjustable spray patterns, allowing you to customize your bathing experience. Whether you prefer a gentle mist or a strong stream, there’s a shower head out there for you.
Water Conservation
If environmental consciousness is important to you, opt for a water-saving shower head. These models are designed to conserve water without sacrificing water pressure.
Installing a Wall-Mounted Shower Head
A wall-mounted shower head is a straightforward installation process that requires minimal effort. Here’s how to do it:
- Attaching the Shower Arm: Screw the shower arm onto the threaded pipe. Use plumber’s tape to ensure a tight seal.
- Hand-Tightening the Arm: Use your hands to tighten the shower arm. If needed, use pliers to give it an extra turn for a secure fit.
- Attaching the New Shower Head: Screw the new shower head onto the other end of the shower arm. Wrap thread tape around the connection to prevent leaks.
Installing a Handheld Shower Head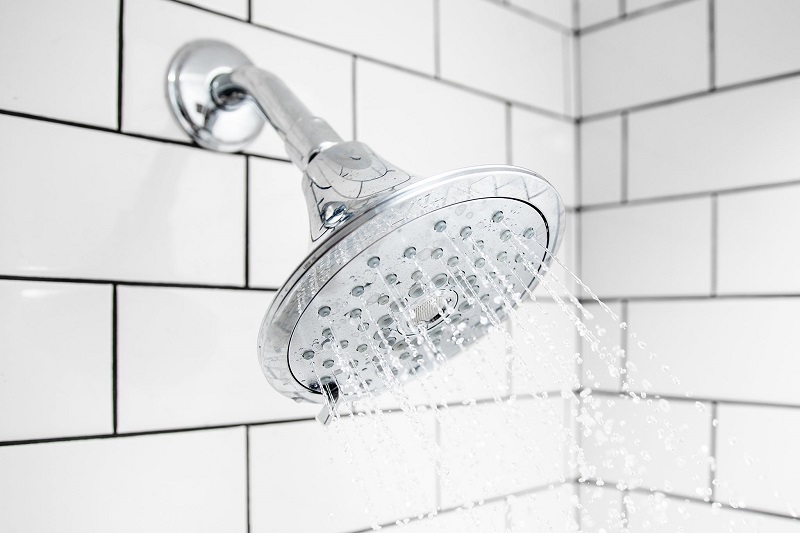
A handheld shower head offers flexibility and convenience. Follow these steps for installation:
- Mounting the Holder: Choose a suitable location to mount the holder. Mark the spot and use a drill and anchors to secure it in place.
- Attaching the Hose and Bracket: Connect the hose to the handheld shower head and attach the bracket to the holder.
- Connecting to the Water Outlet: Connect the hose to the water outlet on the wall. Make sure all connections are secure.
Installing a Rainfall Shower Head
A rainfall shower head can transform your showering experience. Follow these steps for a successful installation:
- Replacing the Existing Shower Arm: If you’re upgrading from a different shower head type, remove the existing arm. Choose a suitable arm length for your new rainfall shower head.
- Applying Thread Tape: Wrap pipe thread tape around the new shower arm to create a watertight seal.
- Attaching the New Arm: Screw the new arm onto the threaded pipe. Ensure a snug fit with the use of pliers if necessary.
Testing the Installation
Once you’ve installed your new shower head, it’s time to test it out and make sure everything is working properly.
Turning on the Water Supply
Gradually turn on the water supply to your shower. This will allow you to check for any leaks or drips around the connections.
Checking for Leaks
Inspect all connections for signs of leaks. If you notice any, you may need to reapply thread tape or tighten the connections further.
Testing Water Pressure and Spray
Step into the shower and test the water pressure and spray patterns of your new shower head. Make any necessary adjustments to ensure your desired shower experience.
Troubleshooting and Tips
Even with careful installation, issues may arise. Here are some troubleshooting tips:
Dealing with Leaks
If you encounter leaks, disassemble the connections, reapply thread tape, and reattach the components. Test for leaks again before fully securing the connections.
Adjusting Water Pressure
If the water pressure is too low or too high, adjust the water pressure valve on the shower head if available. If not, consider installing a pressure regulator.
Removing Flow Restrictors
Some shower heads come with flow restrictors to conserve water. If you prefer stronger water pressure, you can remove the flow restrictor following the manufacturer’s instructions.
Enhancing the Installation
If you’re looking to take your shower experience to the next level, consider these enhancements:
Adding an Extension Arm
For taller individuals or a more customizable shower experience, an extension arm can raise the shower head to your preferred height.
Installing a Water Filter
To enjoy cleaner, purified water while you shower, install a water filter between the shower arm and the new shower head.
Maintenance and Care
To ensure the longevity and optimal performance of your shower head, follow these maintenance tips:
Regular Cleaning
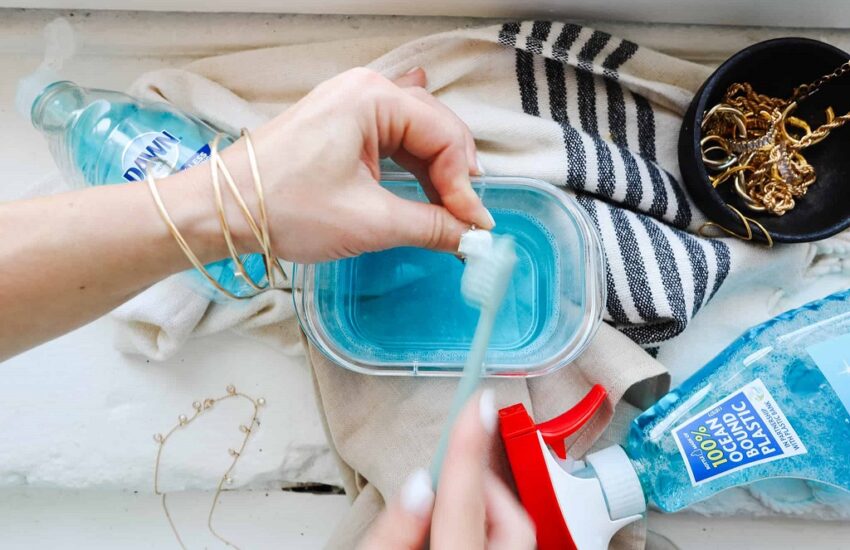
Periodically clean your shower head to remove mineral deposits and grime. Use a soft brush and a mixture of water and mild soap to scrub away buildup.
Removing Mineral Deposits
If mineral deposits have accumulated, soak the shower head in a solution of equal parts water and vinegar. This will dissolve the deposits and restore water flow.
Checking for Leaks
Regularly inspect the connections for leaks. If you notice any, address them promptly to prevent water damage.
Re-Tightening Connections
Over time, connections may loosen due to daily use. Periodically check and tighten connections to maintain a leak-free shower.
When to Seek Professional Help
While DIY projects can be rewarding, there are times when it’s best to call in a professional plumber:
Complex Plumbing Issues
If your plumbing system is complex or outdated, it’s wise to consult a professional to avoid potential complications.
Unexpected Challenges
If you encounter unexpected challenges during the installation process, such as corroded pipes or stubborn connections, a plumber can provide the expertise needed to overcome these obstacles.
Ensuring Safety and Compliance
Certain plumbing tasks require specialized knowledge to ensure safety and compliance with local regulations. If you’re unsure about any aspect of the installation, it’s better to consult a professional.
Conclusion
Embarking on a DIY project like installing a shower head can be a rewarding experience. Not only does it save you money, but it also empowers you to take control of your living space. By following the steps outlined in this guide, you can confidently install a wall-mounted, handheld, or rainfall shower head. From assessing your tools and materials to troubleshooting any issues that arise, you now have the knowledge to tackle this home improvement task with ease. So go ahead, unleash your inner DIY enthusiast, and enjoy the satisfaction of a successful project that enhances your daily routine and adds value to your home.
You May Like