Ever had a kitchen with limited storage space, and wished you had floating shelves to store excess food? Do you love the farmhouse style, but wish there was more space to cook in your kitchen? If ‘yes’ to any of these questions, this blog is for you. In this post, we will tell you about the benefits of installing floating shelves in your kitchen and some tips that will help you make the most of them.
Tools and Materials Required
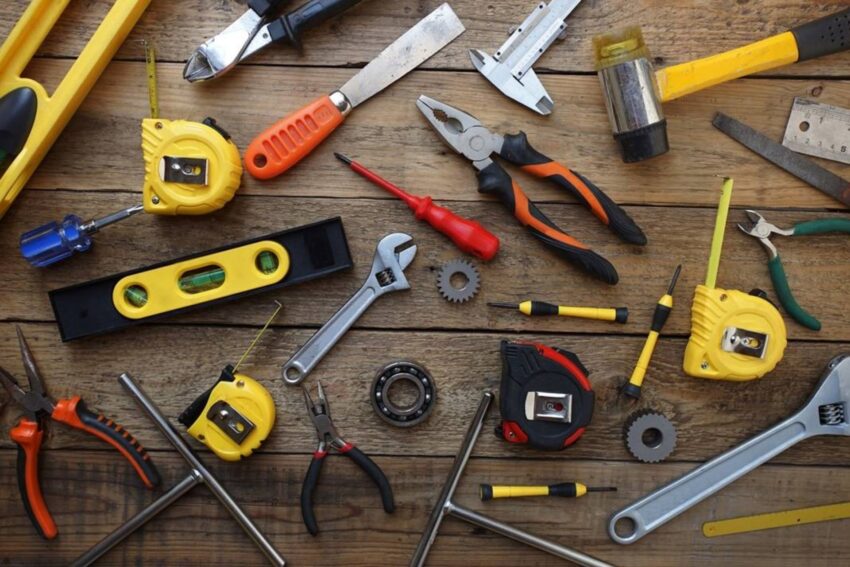
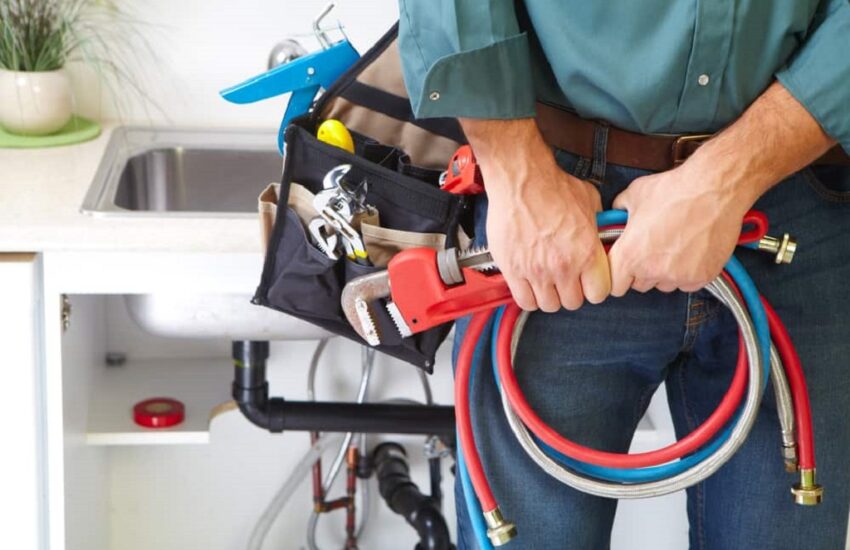
Installing floating kitchen shelves is a relatively easy DIY project. Before beginning, you will need the following tools and materials: wood shelf, shelf bracket, measuring tape, heavy-duty anchors, wood saw, drill, screwdriver, and shelf paper or plexiglass.
Many tools and materials are required for the installation of floating kitchen shelves. The most important of these are the shelf brackets and shelf paper or plexigarettes. These are used to secure the shelves to the wall and help them stay in place.
The other necessary tools include a heavy-duty anchor, wood saw, screwdriver, and drilling machine.
The type of shelf paper or plexiglasses you use depends on the material of your floating shelves. If you are using wood shelves, you should use shelf paper or plexiglass as it provides extra protection from stains and scratches. If your floating shelves are made of plastic, you can use plexiglass to protect them from water damage too.
Step-by-Step Guide to Installing Floating Shelves
If you’re looking to add floating shelves to your kitchen or bathroom, it’s a great idea for decluttering and enhancing your space. But before you can start installing them, there are a few steps you need to go through.
Start by marking the location of the floating shelf on the wall using painter’s tape or paper tape. Also, make sure to attach side supports and front brackets for extra stability. Once the shelves are dry, it’s time to install them on the wall using floating hidden brackets.
Finally, use the hardware to secure the shelf in place, making sure to use a level for each shelf. After that, your floating shelves are ready to be used!
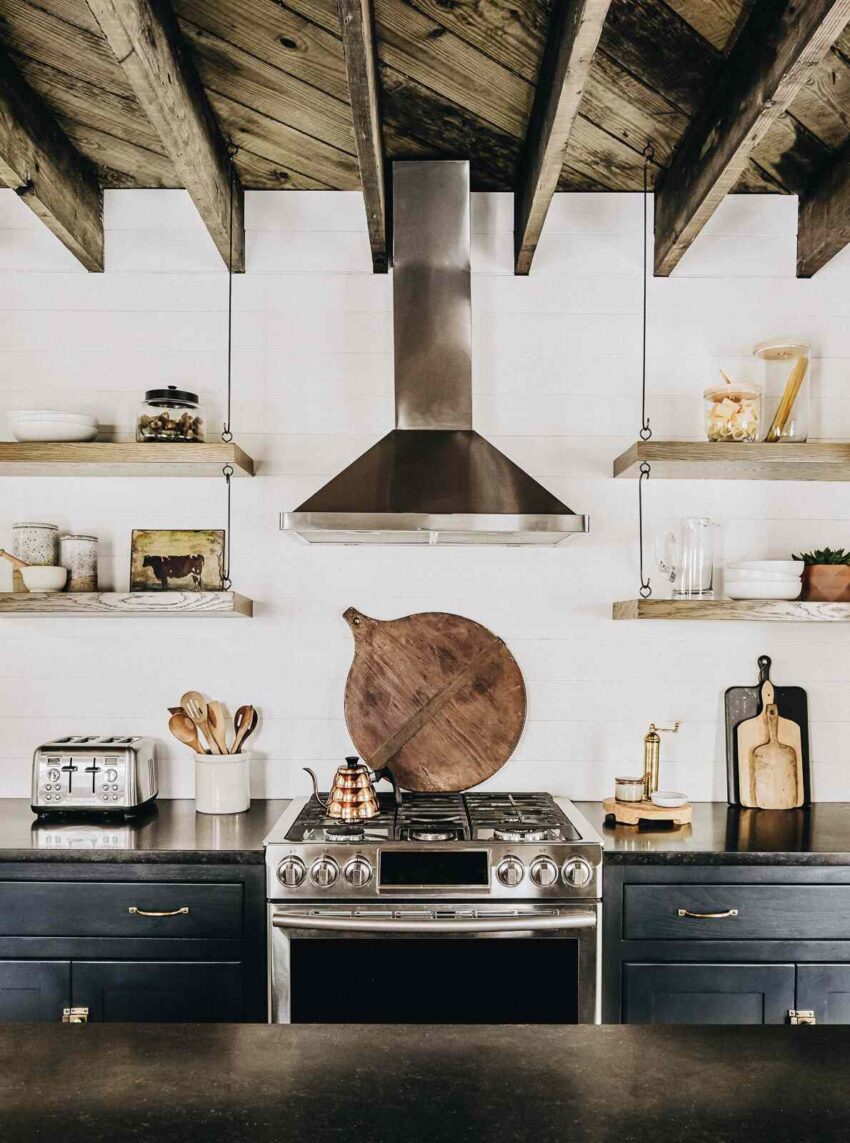
Maximize Storage with DIY Kitchen Floating Shelves
If you’re looking for a way to maximize your kitchen’s storage space, floating shelves are a perfect choice. These shelves can be used to neatly organize kitchen items such as dishes, cookware, and utensils in a way that makes them easy to access and use. Plus, they look great and provide an additional element of elegance and style to any kitchen.
When it comes to organizing kitchen items on floating shelves, it’s important to consolidate the items you use most often so they’re easy to find and access. This can be done by stacking everyday dishes or using decorative containers to free up cabinet space. Additionally, floating shelves can be used in other rooms of your house such as the dining room, living room, bedroom, laundry room, and bathroom. They’re simple to install and there’s no need for a permanent footing, making them an ideal option for kitchens of all sizes.
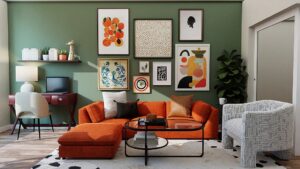
Decorating Tips for Your DIY Kitchen Floating Shelves
If you’re interested in installing DIY kitchen floating shelves, there are a few factors to consider. Firstly, the type of material you use will largely determine the look of the shelf. You can choose from various materials such as wood, PVC, and wood composite. If a rustic is your style, you can go for the wood composite shelf. It’s a blend of wood fiber and plastic, giving it the appearance of wood without the hassle of maintaining it. Another material option is PVC floating shelf. This lightweight material is easy to clean and has a wide range of uses, making it an excellent choice for kitchen shelves.
Besides materials, you can also add seasonal decorations to your DIY kitchen floating shelves. Items such as books, photos, and personal items will create depth and texture on the shelf. With these tips in mind, you can create an eye-catching kitchen shelf with little effort.
Get Creative with Your DIY Kitchen Floating Shelves
Installing a floating shelf is a great way to add an architectural element to your home. To get started, you’ll need a shelf bracket and a floating shelf. You can find these items at your local hardware store or online. Once you have the bracket and floating shelf, you can customize the length and depth of your shelves to fit your needs. You can use a stud finder to find the studs in your wall, or you can use wood filler to secure the bracket to the wall. After that, use a stain or paint as desired to finish the shelf.
Another way to easily customize floating shelves is with a slick system. This involves using brackets and wood screws instead of glue for easy installation. Another benefit of using this type of system is that it’s eco-friendly and safe for pets and children. Plus, it ensures that your shelves will stay in place without being damaged by wind or corrosion. To decorate floating shelves for the seasons, you can use a variety of items such as vases, plants, and knick-knacks. This will add a unique look and feel to your kitchen.
Conclusion
Floating shelf designs are always in trend. If you want to add a farmhouse-inspired look to your kitchen, then floating shelves are the perfect option. They’re easy to set up and don’t require much space. You can even use them as floating storage units or shelving units for maximizing storage space or displaying your collectibles. Getting the floating shelf design on your kitchen walls is as simple as measuring and marking the wall and cutting them out with a saw. Comment below if we have inspired you to install floating shelf kitchen walls in your home!
You May Like