Embarking on a plumbing project requires a comprehensive understanding of the essential details surrounding plumbing putty, and perhaps the most crucial among them is the drying time. In this comprehensive guide, we will delve into the intricate nuances of plumbing putty, providing you with the knowledge necessary for a successful project. From unraveling the mysteries of drying times to mastering optimal application techniques, we are here to ensure that you are well-equipped and informed every step of the way.
Plumbing Putty Drying Process
| Heading | Subheading |
|---|---|
| Understanding Plumbing Putty | A Brief Overview |
| Application Techniques | Ensuring Proper Usage |
| Drying Times: Demystified | Factors Influencing Drying |
| Signs of Fully Dried Putty | How to Tell It’s Ready |
| Importance of Patience | Why Rushing Is a Mistake |
| Common Mistakes to Avoid | Ensuring Proper Drying |
| Alternative Options | Quick Drying Alternatives |
| Testing Dried Putty | Verifying Completion |
| Applying Sealant After Drying | Enhancing Durability |
| Troubleshooting Wet Putty | Dealing with Issues |
| FAQs on Plumbing Putty Drying | Answers to Common Questions |
| Conclusion | Wrapping It Up |
Understanding Plumbing Putty
:max_bytes(150000):strip_icc()/plumbers-putty-2718686-02-feb09793a3c4471b96fe0831b5d94a6a.jpg)
Plumbing putty is a versatile material used in various plumbing applications. It’s a pliable substance that seals gaps and prevents leaks. Typically composed of linseed oil, powdered limestone, and pigments, it’s essential to comprehend its properties for effective use.
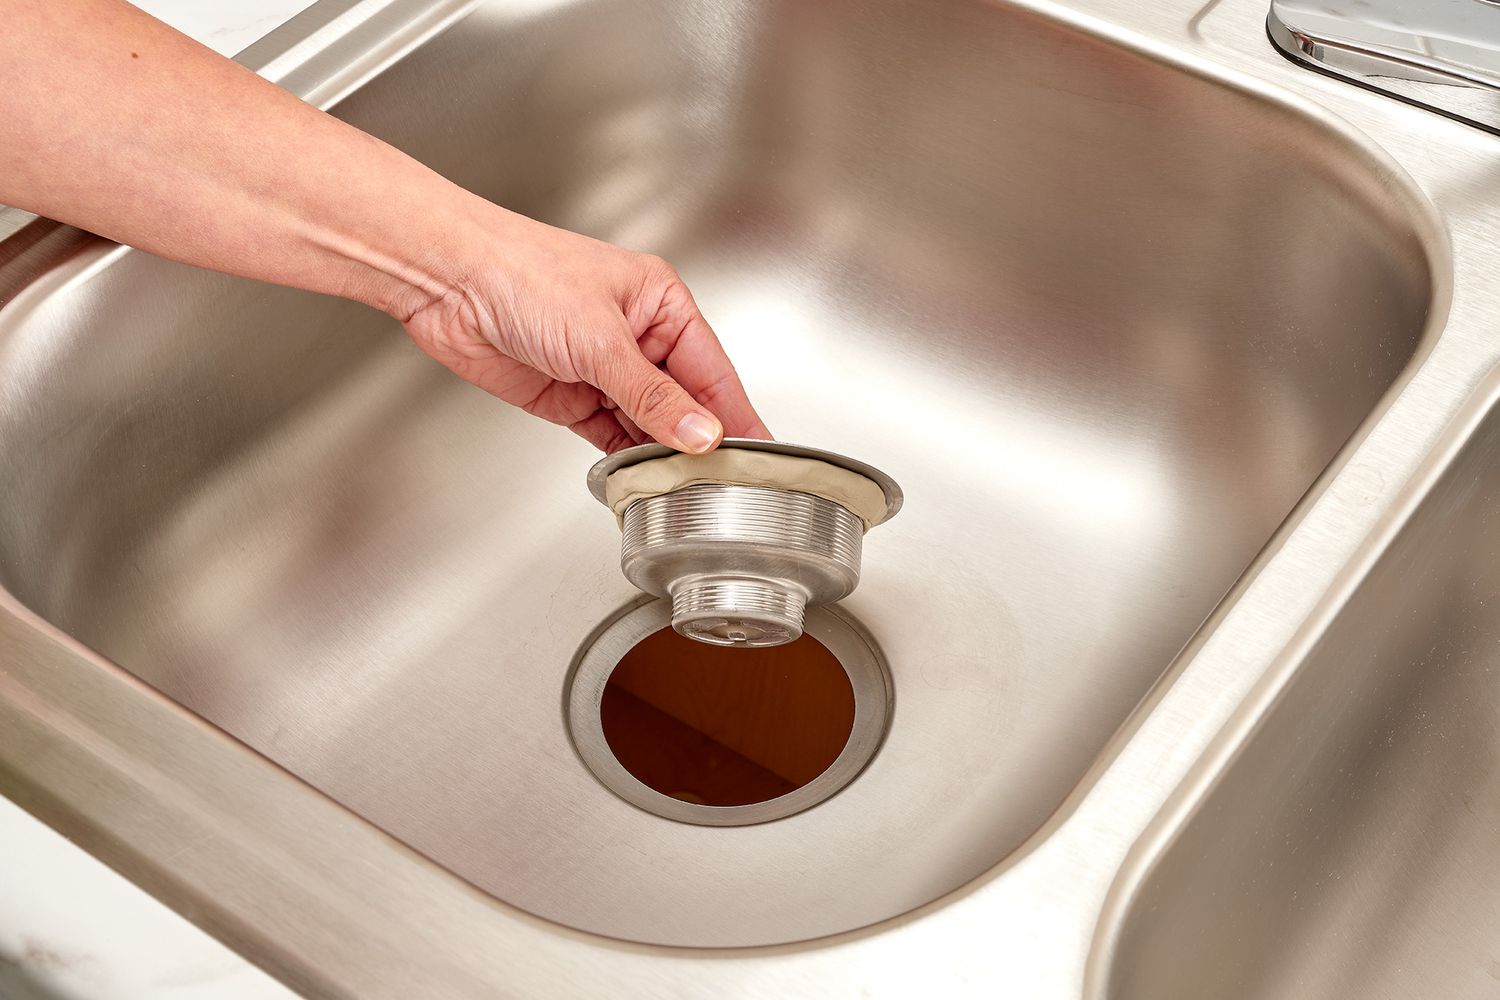
Application Techniques
For optimal results, ensure a clean, dry surface before applying plumbing putty. Roll the putty into a thin, uniform rope, and press it into the joint. Smooth any excess putty with a putty knife for a neat finish.
Drying Times
The drying time of plumbing putty varies based on several factors. Ambient temperature, humidity levels, and the thickness of the applied putty all play a role. On average, it takes anywhere from a few hours to 24 hours for plumbing putty to fully dry.
Signs of Fully Dried Putty
To avoid disrupting the drying process, refrain from disturbing the putty-covered area. Once the putty loses its initial stickiness and achieves a firm texture, it’s a sign that it’s fully dried.
Importance of Patience
While it might be tempting to expedite the process, patience is key when waiting for plumbing putty to dry. Rushing can compromise the effectiveness of the seal, leading to potential leaks.
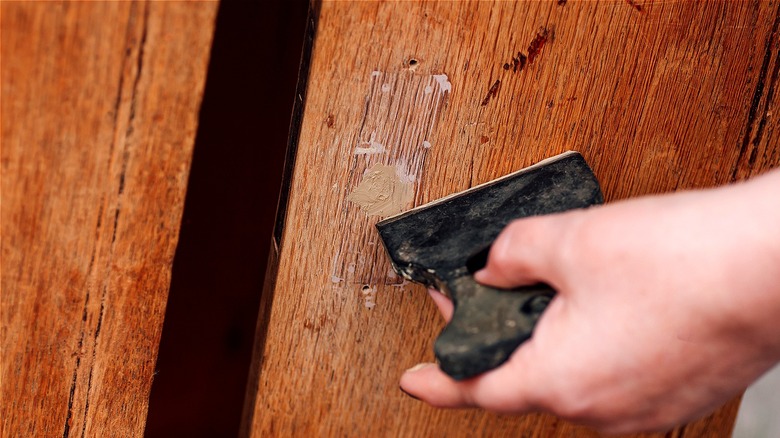
Common Mistakes to Avoid
One common mistake is applying too much putty. A thin, even layer is sufficient for a proper seal. Additionally, neglecting surface preparation can hinder the putty’s adhesion.
Alternative Options
If time is of the essence, consider quick-drying alternatives such as epoxy putty. While these options offer faster drying times, they may have different application requirements.
Testing Dried Putty
Before proceeding with further plumbing work, it’s crucial to test the dried putty. Gently press on the surface; if it feels firm and unyielding, you can confidently move forward with your project.
Applying Sealant After Drying

For added durability, consider applying a silicone sealant once the plumbing putty has dried. This extra layer enhances the water-resistant properties and ensures a long-lasting seal.
Troubleshooting Wet Putty
Have you encountered issues with wet putty? Assess the environmental conditions and allow additional drying time. If problems persist, consider reapplying putty and following proper drying procedures.
FAQ
How long does plumbing putty take to dry in cold temperatures?
In colder environments, drying times can extend to 24 hours or more. Ensure proper insulation and controlled temperature for efficient drying.
Can I use a hairdryer to speed up the drying process?
While it might be tempting, using a hairdryer can lead to uneven drying and compromise the seal. Patience is key for a successful outcome.
Is it normal for putty to have a slight odor during drying?
Yes, a mild odor is typical during the drying process. Ensure proper ventilation to dissipate the smell.
Can I paint over dried plumbing putty?
Absolutely. Once the putty is fully dried, it can be painted over to match the surrounding surfaces.
What should I do if the putty doesn’t dry within the expected time frame?
Reassess the environmental conditions, and if needed, remove the inadequately dried putty, and reapply following proper procedures.
Is plumbing putty suitable for all plumbing materials?
Yes, plumbing putty is versatile and suitable for use with various plumbing materials, including PVC, copper, and stainless steel.
Conclusion
Perfecting the skill of gauging the drying time of plumbing putty is a fundamental proficiency for any DIY plumber. By meticulously adhering to precise application techniques and patiently allowing sufficient time for the putty to solidify, you guarantee the creation of a watertight and enduring plumbing solution. This mastery not only involves the precise application of the putty but also demands a nuanced understanding of environmental factors such as temperature and humidity, which can significantly influence the drying process. In this intricate dance of craftsmanship, the practitioner attains a level of expertise that transforms a mere plumbing task into an art form, ensuring a flawlessly sealed and resilient outcome.