The ridge cap of a metal hip roof is like the cherry on top, both functional and stylish. In this guide, we’ll walk you through the process of installing this critical component, ensuring your hip roof not only withstands the elements but looks good doing it.
Selecting the Right Ridge Cap
1. Choosing the Right Material Metal ridge caps come in various materials—steel, aluminum, or copper. Consider durability, weather resistance, and aesthetics when choosing the right material for your hip roof.
2. Opting for Color Coordination The ridge cap is a visible part of your roof, so consider coordinating its color with the rest of the roofing material. This not only enhances the visual appeal but also adds a touch of seamless design.
Preparation for Installation
3. Inspecting the Roof Surface Before installation, inspect the hip roof surface for any irregularities. Ensure it’s clean, smooth, and free from debris. A well-prepared surface is crucial for the ridge cap to sit snugly and form a watertight seal.
4. Securing the Underlayment Check and secure the underlayment beneath the ridge. A solid underlayment provides an extra layer of protection against leaks, ensuring your hip roof remains dry and resilient.
Step-by-Step Installation Process
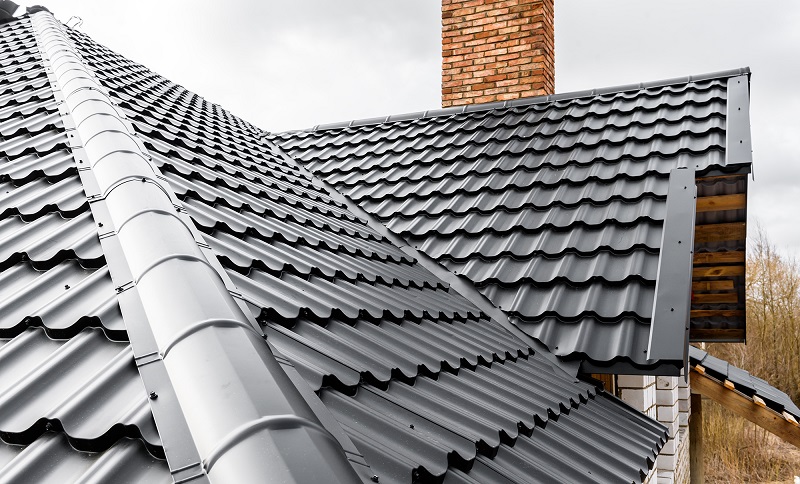
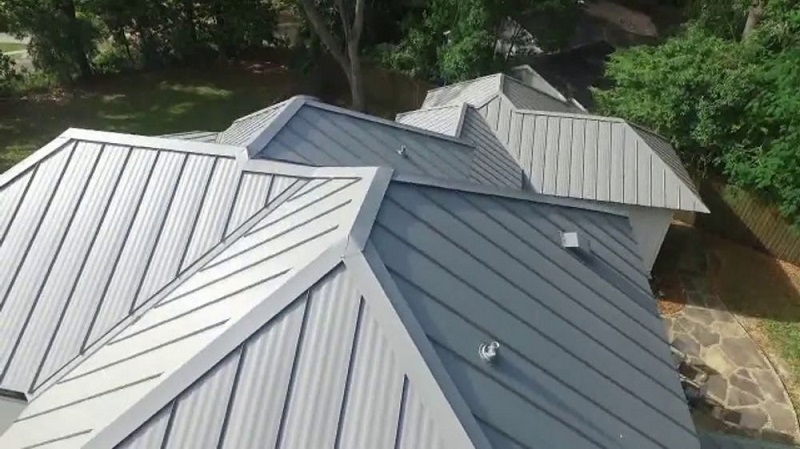
5. Placing the Ridge Cap Start by placing the first ridge cap section at one end of the hip roof. Align it carefully, ensuring it covers the ridge and overhangs the roof edges evenly. Precision at this stage ensures a uniform and polished look.
6. Securing with Fasteners Use appropriate fasteners, such as screws or nails, to secure the ridge cap in place. Ensure they penetrate both the ridge cap and the underlying metal hip roof. This step is vital for stability and wind resistance.
Overlapping and Sealing
7. Overlapping for Water Tightness Overlap successive ridge cap sections to create a seamless barrier against water infiltration. The overlap provides an extra layer of protection, preventing rain or snow from seeping into the underlying structure.
8. Sealing the Joints Apply a quality roofing sealant to the joints and fasteners. This step enhances the watertight seal and adds an extra layer of protection against the elements. A well-sealed ridge cap ensures longevity and durability.
FAQs (Frequently Asked Questions)
Q: Can I install a metal ridge cap on an existing asphalt shingle roof?
While it’s possible, it’s generally recommended to match materials for optimal performance. Consult with a roofing professional to assess compatibility and ensure a watertight seal.
Q: Does the color of the ridge cap affect its performance?
No, the color is primarily an aesthetic choice. However, selecting a color that complements your roof can enhance the overall appearance of your home.
Q: Can I walk on the ridge cap after installation?
Avoid walking directly on the ridge cap to prevent damage. If inspection or maintenance is necessary, use a walk board or crawl boards to distribute weight evenly.
Q: How often should I inspect and maintain the ridge cap?
Regular inspections, at least annually, are recommended to identify any signs of wear, damage, or potential issues. Prompt maintenance ensures the continued effectiveness of the ridge cap.
Q: Are there alternatives to ridge caps for a metal hip roof?
While ridge caps are a common choice, some homeowners opt for metal roofing sealants or tapes. Consult with a roofing professional to determine the best option for your specific roof design.
Conclusion:
Installing a ridge cap on your metal hip roof is the final touch that brings both functionality and aesthetics together. By choosing the right materials and following a precise installation process, you ensure your hip roof not only stands up to the elements but does so with style.