A lush, vibrant lawn, a bountiful vegetable patch, or stunning flower beds – these are the dreams of many gardeners and homeowners garden’s applying fertilize. Achieving this often involves giving plants the nutrients they need to thrive. Fertilizers play a crucial role in supplementing soil nutrients, promoting healthy growth, and maximizing yields. However, simply tossing fertilizer onto your plants isn’t enough; in fact, doing it wrong can be worse than not fertilizing at all. Incorrect application can lead to wasted money, damaged plants, soil degradation, and harmful environmental consequences like water pollution.
Understanding the correct method to apply fertilizer is essential for nurturing your plants while protecting the environment. It’s about giving your plants precisely what they need, when they need it, and in a way they can actually use it. This guide will walk you through the best practices for fertilizer application, ensuring you feed your plants effectively and responsibly for a healthier, more beautiful garden or landscape.
Why Proper Fertilization Isn’t Just Optional
Plants, like all living things, require specific nutrients to grow, flower, fruit, and resist pests and diseases. While soil naturally contains many of these nutrients, they can become depleted over time, especially through harvesting crops or the intensive growth of lawns. The three primary macronutrients plants need in the largest quantities are Nitrogen (N), Phosphorus (P), and Potassium (K), often represented as the N-P-K ratio on fertilizer packaging.
- Nitrogen (N): Crucial for leafy green growth, chlorophyll production (photosynthesis), and overall plant vigor.
- Phosphorus (P): Essential for strong root development, flower and fruit production, seed formation, and energy transfer within the plant.
- Potassium (K): Promotes overall plant health, disease resistance, drought tolerance, and regulates various metabolic processes.
Under-fertilizing starves plants, leading to stunted growth, pale leaves, poor flowering or fruiting, and increased susceptibility to problems. Conversely, over-fertilizing is equally detrimental. Excess salts from fertilizers can draw moisture out of plant roots, causing “fertilizer burn”—scorched leaves, wilting, and even plant death. Too much nitrogen can promote excessive leafy growth at the expense of flowers or fruit and can make plants more vulnerable to certain pests and diseases. Furthermore, excess nutrients, particularly nitrogen and phosphorus, can leach into groundwater or run off into rivers and lakes, causing eutrophication – harmful algal blooms that deplete oxygen and kill aquatic life.
Before You Begin: Essential Prep Work for Success
Before you even open a bag or bottle of fertilizer, a few preparatory steps are crucial for safe and effective application:
- Know Your Soil (Soil Testing is Non-Negotiable!): This is the single most important step. A soil test provides invaluable information about your soil’s pH and existing nutrient levels (N, P, K, and micronutrients). Without a test, you’re just guessing, risking over- or under-application. You can get DIY kits or send samples to a local university extension office or private lab for detailed analysis. The results will tell you exactly which nutrients are lacking and recommend appropriate fertilizer types and application rates for your specific plants.
- Read the Product Label – Carefully: Every fertilizer product is different. The label is your instruction manual. Pay close attention to the N-P-K ratio, the guaranteed analysis (what nutrients it contains and in what percentage), recommended application rates (often per 1,000 sq ft or per plant), timing, specific application instructions (e.g., “water in immediately,” “do not apply to wet foliage”), and safety precautions.
- Choose the Right Fertilizer: Armed with your soil test results and knowledge of your plants’ needs, select the appropriate fertilizer. Consider the type:
- Granular: Dry pellets or particles, can be slow-release or quick-release.
- Liquid/Water-Soluble: Dissolved in water, fast-acting.
- Slow-Release/Controlled-Release: Granules coated to release nutrients gradually over weeks or months.
- Organic: Derived from natural sources (manure, compost, bone meal), generally slow-release and improve soil health.
- Synthetic: Manufactured chemicals, provide precise nutrient ratios and quick availability.
- Gather Your Tools: Having the right equipment makes application easier and more accurate. This includes:
- Spreaders: For granular fertilizers. Broadcast (rotary) spreaders cover large areas quickly; drop spreaders offer more precise application for edges and smaller areas.
- Sprayers: For liquid fertilizers (handheld, backpack, or hose-end).
- Measuring Tools: Cups or scoops for accurate dosing.
- Protective Gear: Always wear gloves, eye protection, and potentially a dust mask, especially when handling powdered or dusty fertilizers.
Applying Granular Fertilizers: Step-by-Step
Granular fertilizers are popular for their ease of use and storage. They come in various formulations, including quick-release, slow-release, and organic options.
- Calibration: Before applying, calibrate your spreader according to the fertilizer label instructions and spreader manual. This ensures you apply the correct amount evenly. An uneven application can lead to stripes of burnt or underfed lawn.
- Broadcasting: This is the most common method for lawns and large garden beds.
- Fill the spreader hopper (preferably on a hard surface like a driveway, where spills can be swept up easily).
- Apply around the perimeter first (the “header strip”).
- Walk back and forth across the area in straight lines, slightly overlapping each pass to ensure even coverage (check your spreader manual for recommended overlap). Walk at a steady pace.
- Shut off the spreader when stopping or turning to avoid dumping excess fertilizer in one spot.
- Sweep any fertilizer granules off sidewalks, driveways, or patios back onto the lawn or garden bed immediately to prevent runoff.
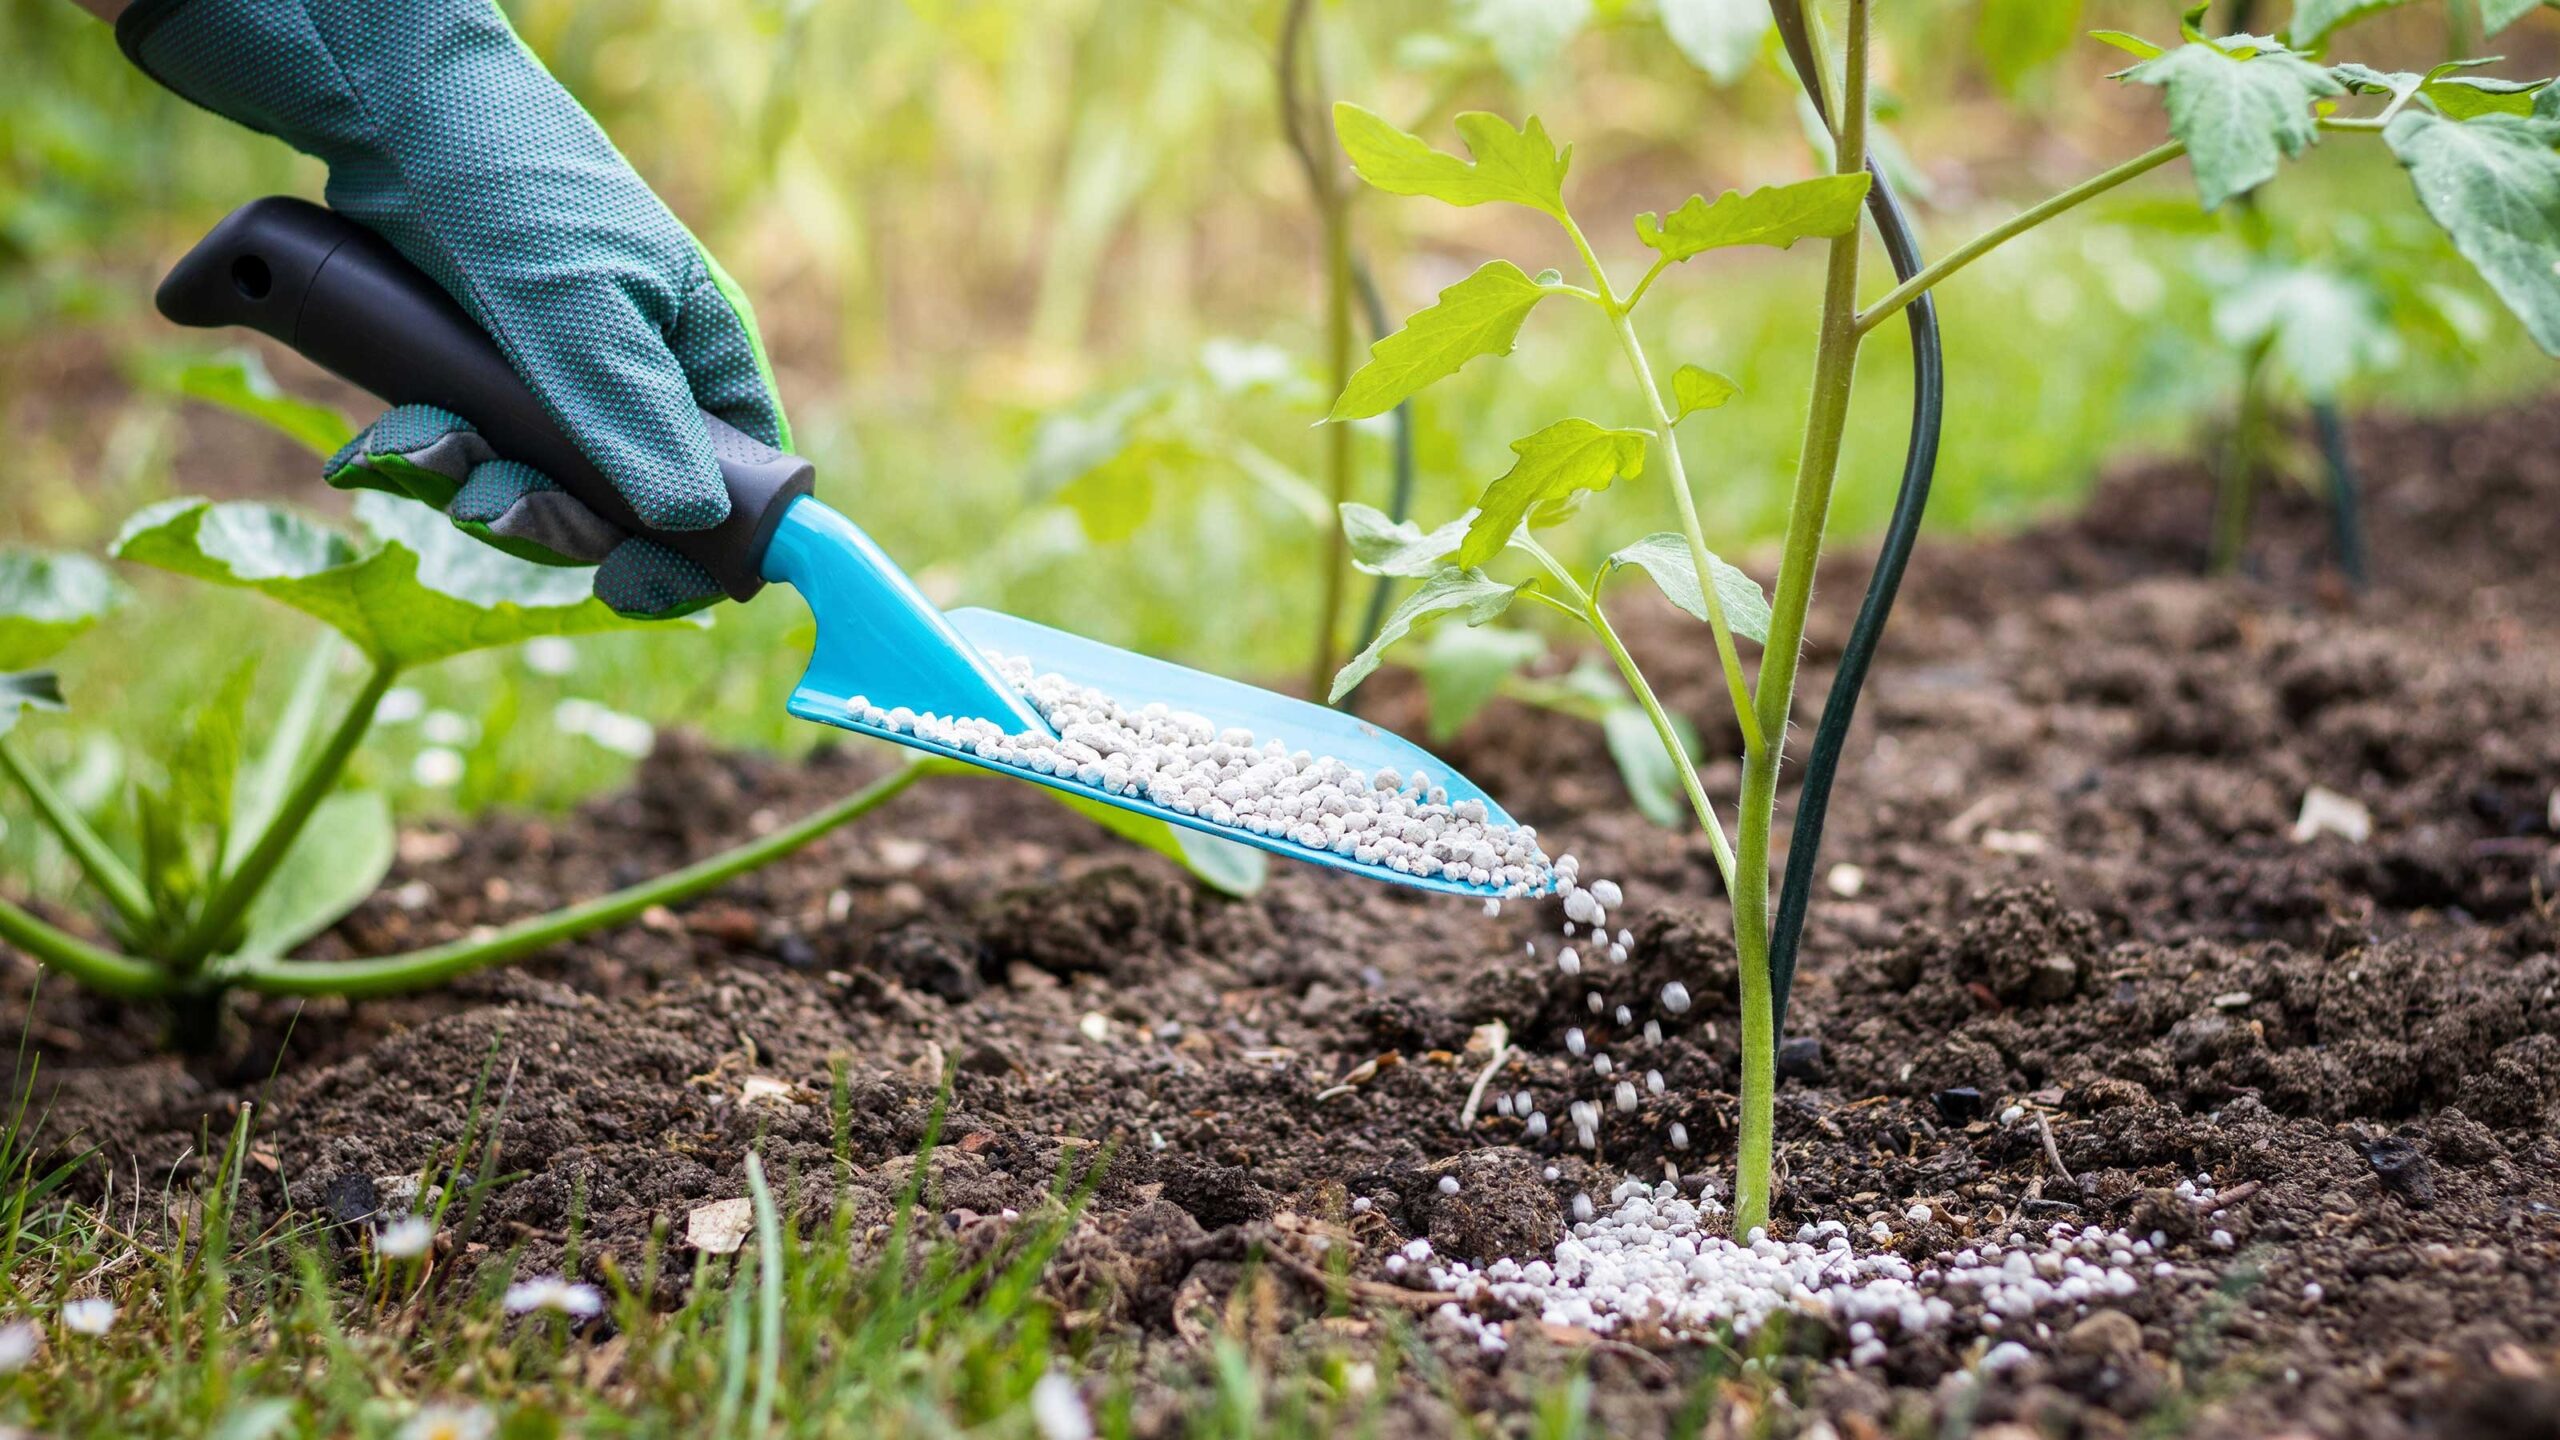
- Banding/Side-Dressing: This technique concentrates fertilizer near the plant roots, often used for row crops like vegetables or specific ornamental plantings. Apply the fertilizer in a narrow band along the side of the row (side-dressing) or near the base of individual plants, typically a few inches away from the stem to avoid burn. Lightly incorporate it into the top inch or two of soil.
- Top-Dressing: Simply spreading granular fertilizer over the soil surface around established plants like shrubs, trees, and perennials. This is common for feeding existing plantings.
- Incorporation: Mixing fertilizer into the soil before planting. This is often done when preparing new garden beds or planting trees and shrubs, ensuring nutrients are available in the root zone from the start.
- Watering In: Unless the label specifically advises against it (rare), water the area thoroughly after applying granular fertilizer. This helps dissolve the granules, move nutrients into the root zone, activate slow-release coatings, and wash any residue off foliage, preventing burn. Aim for about half an inch of water.
Applying Liquid Fertilizers: Techniques and Tips
Liquid or water-soluble fertilizers provide nutrients in a readily available form, leading to quicker plant responses. They are excellent for giving plants a quick boost or correcting deficiencies rapidly.
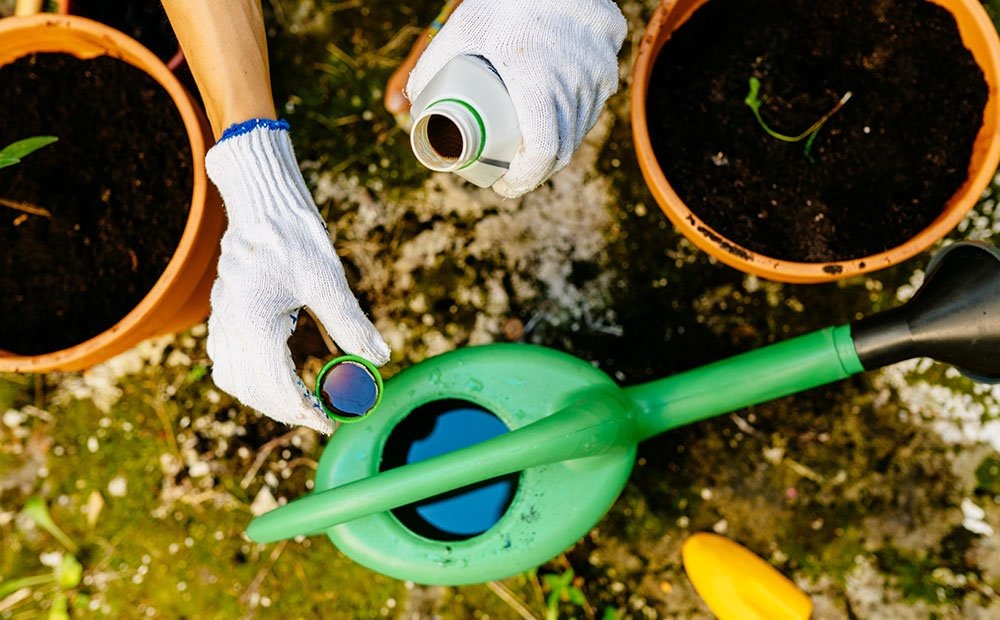
- Mixing: Always follow the label directions precisely for dilution rates. Mixing too strong a solution is a primary cause of fertilizer burn. Use a clean container and measure accurately.
- Foliar Feeding: This involves spraying the diluted fertilizer solution directly onto the plant’s leaves. Nutrients are absorbed quickly through the foliage. It’s particularly effective for delivering micronutrients or providing a fast fix for visible deficiencies.
- Best Practice: Spray early in the morning or late in the evening when temperatures are cool and the sun isn’t intense. Avoid spraying in direct sunlight or high heat, which increases burn risk. Ensure good coverage on both upper and lower leaf surfaces. Note that foliar feeding is supplementary and doesn’t replace soil fertilization for major nutrients.
- Soil Drenching: Pouring the diluted fertilizer solution onto the soil around the base of the plant, allowing it to soak into the root zone. Apply evenly over the root area (extending out to the plant’s drip line for larger plants). Apply to soil that is already slightly moist, not bone dry.
- Hose-End Sprayers: These devices attach to your garden hose and automatically mix concentrated liquid fertilizer with water as you spray. They offer convenience for large areas like lawns. However, ensuring accurate mixing and even application can be tricky. Check the sprayer’s calibration and move steadily and evenly across the area.
- Frequency: Liquid fertilizers are typically fast-acting and wash through the soil more quickly than granular types, often requiring more frequent applications (e.g., every 2-4 weeks during the growing season, per label instructions).
Working with Specialized Fertilizers
Beyond standard granular and liquid types, you might encounter:
- Slow-Release/Controlled-Release Fertilizers: These granules are coated with materials (like polymer or sulfur) that break down gradually, releasing nutrients over an extended period (weeks to months). Benefits include less frequent application, more consistent nutrient supply, and reduced risk of nutrient runoff and leaching. Apply using broadcast or incorporation methods, following label rates.
- Organic Fertilizers (Compost, Manure, Bone Meal, etc.): These materials feed the soil as well as the plant. They improve soil structure, water retention, and microbial activity. Nutrient release is generally slow, relying on soil microbes to break down the organic matter. Apply by incorporating into the soil before planting or top-dressing around established plants. Be aware that nutrient content can be variable, application rates might be higher due to lower concentrations, and uncomposted manure can contain weed seeds or burn plants if too “hot” (high in ammonia).
Timing Your Application for Maximum Impact
When you fertilize is as important as how.
- Season: Fertilize when plants are actively growing. For most plants (annuals, vegetables, warm-season lawns, trees, shrubs), spring is the key time as they emerge from dormancy. Cool-season lawns benefit most from fall fertilization, followed by early spring. Avoid fertilizing dormant plants or when the ground is frozen. Many regulations prohibit fertilizer application between late fall (e.g., November 15) and early spring (e.g., March 1) to prevent runoff.
- Time of Day: Early morning or late afternoon/early evening is generally best. Avoid fertilizing during the hottest part of the day, especially with liquids, as this increases stress and the risk of foliar burn. Applying to dry soil or heat-stressed plants is risky.
- Frequency: Follow label instructions based on the fertilizer type. Slow-release products require fewer applications than quick-release liquids or granules. Splitting the total recommended amount into several smaller applications throughout the growing season (split application) can provide more consistent feeding and reduce the risk of loss for some plants, like lawns or long-season vegetables.
Safety First and Environmental Protection
Responsible fertilizing includes protecting yourself and the environment.
- Personal Safety: Always wear gloves to protect your skin. Eye protection is recommended, especially when pouring or spraying. A dust mask is wise when handling dry, powdery products. Wash your hands thoroughly after handling fertilizers. Store fertilizers in their original, sealed containers in a cool, dry place away from children, pets, and water sources.
- Environmental Safety: The goal is to get nutrients to the plant, not into waterways.
- Avoid Runoff: Never apply fertilizer before heavy rainfall is predicted. Sweep up any spills from hard surfaces immediately.
- Waterbody Buffers: Maintain a buffer zone around water bodies (streams, lakes, ponds, storm drains). Do not apply fertilizer within 10-15 feet (or as specified by local regulations) of water edges.
- Use the Right Amount: Apply only the amount recommended by your soil test and the product label. More is NOT better.
- Consider Alternatives: Use slow-release fertilizers to minimize nutrient leaching. Incorporate compost to improve soil structure and nutrient retention.
People Also Ask (FAQs)
Q1: How do I know if my plants need fertilizer?
Look for signs like slow or stunted growth, pale green or yellowing leaves (especially older leaves for nitrogen deficiency), poor flowering or fruiting, or increased susceptibility to pests/diseases. However, the best way to know for sure is through a soil test, which identifies specific nutrient deficiencies and pH issues.
Q2: Can I just scatter fertilizer by hand?
While possible for small pots or individual plants (using care), it’s highly discouraged for larger areas like lawns or garden beds. Applying by hand leads to very uneven distribution, resulting in patches of lush growth next to starved areas, or worse, patches of fertilizer burn. Always use a properly calibrated spreader or sprayer for even coverage.
Q3: What do the N-P-K numbers on the bag mean?
These three numbers represent the percentage by weight of Nitrogen (N), Phosphate (P₂O₅, a source of Phosphorus), and Potash (K₂O, a source of Potassium) in the fertilizer. For example, a 10-10-10 fertilizer contains 10% Nitrogen, 10% Phosphate, and 10% Potash. Nitrogen promotes green, leafy growth; Phosphorus aids root, flower, and fruit development; Potassium boosts overall plant health and resilience.
Q4: How soon will I see results after fertilizing?
This depends heavily on the type of fertilizer used. Liquid/water-soluble fertilizers provide nutrients immediately and you might see a response (like greener leaves) within a few days to a week. Quick-release granular fertilizers might take a week or two. Slow-release and organic fertilizers release nutrients gradually over weeks or months, so visual changes will be slower but more sustained.
Q5: Help! I think I applied too much fertilizer. What should I do?
If you suspect over-application (signs of burn like brown leaf edges, wilting), act quickly. Flush the area thoroughly with water for several days (if drainage is good) to leach excess salts below the root zone. For container plants, water heavily until water drains freely from the bottom. Prune off severely damaged leaves to reduce stress on the plant. Avoid fertilizing again until the plant shows clear signs of recovery. Learn from the mistake and measure carefully next time!
Q6: Is organic fertilizer better or safer than synthetic fertilizer?
Both have pros and cons. Organic fertilizers (compost, manure, etc.) improve soil structure and feed beneficial microbes over time. They are generally slower-release and have a lower risk of causing fertilizer burn. Synthetic fertilizers offer precise nutrient concentrations and immediate availability, which can be beneficial for correcting deficiencies quickly or for plants with high nutrient demands. The “safest” approach involves applying any fertilizer correctly – following soil test recommendations and label instructions. Misuse of either type can cause problems. Many gardeners use a combination approach.
Discover More: How to Clean and Deodorize a Smelly Washing Machine
Conclusion: Feed Wisely for Flourishing Plants
garden’s applying fertilize correctly is a cornerstone of successful gardening and lawn care. It’s more than just feeding your plants; it’s about understanding their needs and providing nutrition responsibly. By prioritizing soil testing, carefully reading product labels, choosing the right fertilizer type, mastering the appropriate application technique (broadcast, banding, foliar, drench), timing it correctly, and always prioritizing safety and environmental protection, you can unlock the full potential of your plants.
Remember the “4 Rs” of nutrient stewardship often cited in agriculture, which apply equally well to home gardens: Right Source, Right Rate, Right Time, and Right Place. Following these principles ensures your plants get the nourishment they need to thrive, rewards you with healthier growth and better yields, and helps protect our precious soil and water resources for the future. Fertilizing correctly isn’t just a task; it’s an investment in the health and beauty of your green spaces.