With the growing concern about the effects of chemicals on our health, many people are trying to take care of their personal well-being by reducing their exposure to toxins in everyday life. However, this is not an easy task for most people. For example, finding time to clean your air mattress and maintain it properly can be difficult, but with a little preparation, this task can be simple.
What is an air mattress?
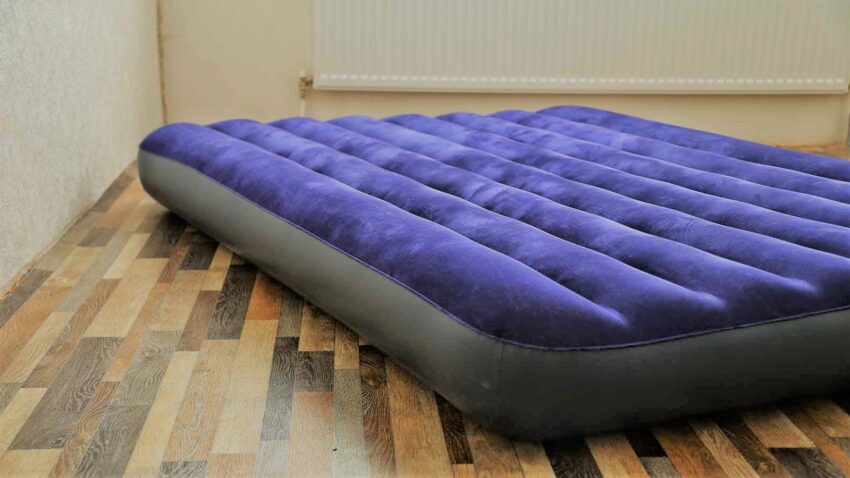
Air mattresses are lightweight, air-filled rubber or plastic mattress supported on a frame. They’re popular for their convenience – you can take them wherever you go. But what happens when you need to clean them?
The good news is that air mattresses can be cleaned in the same way as any other piece of furniture. Here are five easy steps to help keep your air mattress looking and performing like new:
- Remove the cover: Start by removing the cover, which you can usually do by simply lifting it off of the bed. Once the cover is off, use a vacuum cleaner with a hose attachment to clean all of the dust and debris that has built up on the surface of the air mattress over time. Be sure to check for any leaks or tears in the seams of the cover before cleaning it further.
- Wipe down the surface: Next, wipe down the surface of the mattress with a damp cloth. This will remove any dust or dirt that has settled there over time. Again, check for any leaks or tears in the cover’s seams before moving on to step 3.
- Rinse out the mattress and cover: Once you have removed all of the dirt and debris from the surface of the air mattress, rinse it with a hose attachment. You’ll want to ensure that you’re completely rinsing any soap residue away from the mattress and removing any dust, dirt or other contaminants. If you’re using a hose attachment with a spray nozzle, spray a light coat of water over the entire surface of your air mattress to rinse off any remaining dirt and grime.
Common reasons why people have to replace their air mattresses
There are a few reasons why people may have to replace their air mattress: if it’s overly worn out, if it has been damaged in some way, or if the inflation valve starts to leak.
Here are some tips on how to keep your air mattress clean and lasting:
- Regularly check the inflation valve. If it begins to leak air, it’s time to replace the mattress. Leaks can also be caused by build-up of dust and debris over time, so keep your mattress clean by wiping down the valve with a damp cloth every few months.
- Clean the surface of the mattress once a year using a vacuum cleaner with a hose attachment. Be careful not to damage the coverings.
- If your air mattress is frequently dirty, try washing it in cold water and mild soap once a week. Be sure to dry it completely before storing it.
How to properly clean an air mattress
If your air mattress is feeling a bit musty, it’s time to give it a good cleaning. Here’s how:
- Remove the cover. If you have a self-inflating air mattress, remove the cover and wash it in the washing machine on a delicate or hand-wash cycle with a mild detergent. If you have an inflatable air mattress that uses an inner bladder, remove the cover and blow out the air chambers with compressed air.
- Vacuum the cover and inner surface of the mattress. Move the vacuum attachment over the entire surface to remove dust, lint, or pet dander. Be sure to turn off the vacuum before removing the plug from the hose.
- Soak a cotton ball in rubbing alcohol and place it inside each chamber. Close the valve on one end of an air pump (or use your hands) and release all of the air from the mattress while holding down on one end of the cotton ball. Pump up and down several times to evenly distribute the rubbing alcohol throughout each chamber. Replace the valve on the pump if needed and let air bedsit until all liquid has dissipated (usually about 30 minutes). Wipe down any areas that may have been affected by rubbing alcohol with a paper towel.
- If you need assistance, please contact us and we will happily help you through the process. We stand by to help you get your new mattress back into action! Feel free to ask any questions at all!
If you have any questions about our products, please call or email us anytime.
How to replace the valves of an air mattress
If your air mattress is more than two years old and shows signs of wear and tear, it’s time to replace the valves. Replacing the valves will help to keep your air mattress inflated and in good condition. Here are step-by-step instructions on how to replace the valves:
- Remove the cover and inner liner of the air mattress.
- Locate the valve caps on each side of the air mattress.
- Remove the valve caps by pressing down on them and pulling them off the air mattress.
- Place a cloth over each valve cap while you remove them to protect them from dirt, dust, or debris.
- Inspect each valve for wear or damage. If it shows any signs of wear or damage, replace it with a new valve cap.
- Reinstall the inner liner, cover, and valve caps on each side of the air mattress.
Tips for prolonging the life of your air mattress
Air mattresses come in all shapes and sizes, so it can be tough to know what specific tips will work for your particular mattress. However, a few general cleaning tips can be applied to most air mattresses.
The first step is to make sure the mattress is properly inflated. Overinflating a mattress can cause it to become harder to clean, as well as increase the risk of it popping or tearing.
Next, use a lint-free cloth to clean the surface of the mattress. Be sure to wipe down the entire surface, including the edges and corners. Avoid using water or any other liquid cleaners on an air mattress; these can damage the material.
When cleaning areas that are particularly difficult to reach, such as around the springs or the zippered enclosure, use a vacuum cleaner with a crevice tool attachment. This will help you get into hard-to-reach places without damaging the mattress.
You May Like