
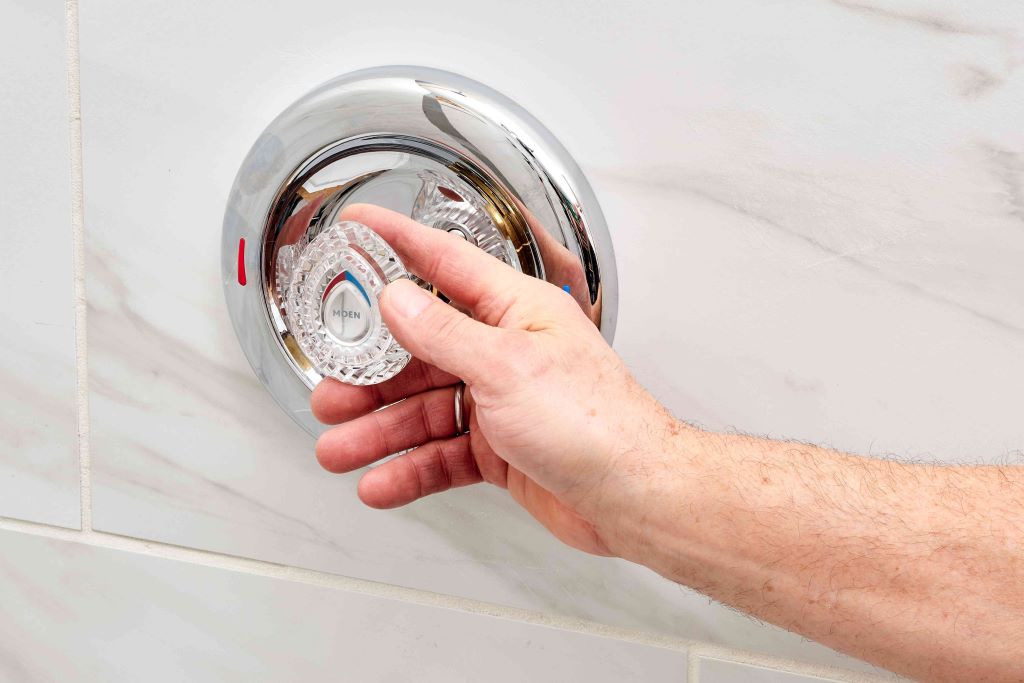
Dealing with a stubborn faucet can be incredibly frustrating, especially when you’re trying to get ready for work or need water urgently. Push-pull faucet valves are common in many homes, and when they get stuck, it can disrupt your daily routine. Fortunately, most stuck valve issues can be resolved with the right approach and tools. Think House Creative specializes in plumbing solutions and has helped countless homeowners tackle these exact problems.
Push-pull faucets operate differently from traditional twist handles, using a simple push-and-pull mechanism to control water flow. When these valves become stuck, it’s usually due to mineral buildup, worn components, or debris that has accumulated over time. Understanding the root cause of your stuck push pull water valve problem is the first step toward finding an effective solution.
Before diving into repairs, it’s important to identify whether your issue stems from mechanical problems, mineral deposits, or component wear. Each situation requires a slightly different approach, but most homeowners can handle these repairs without calling a professional plumber.
Understanding Your Push-Pull Faucet System
Push-pull faucets contain several key components that work together to control water flow. The valve stem connects to the handle and moves up and down within the faucet body. O-rings and washers create watertight seals, while the valve seat provides a surface for these components to rest against.
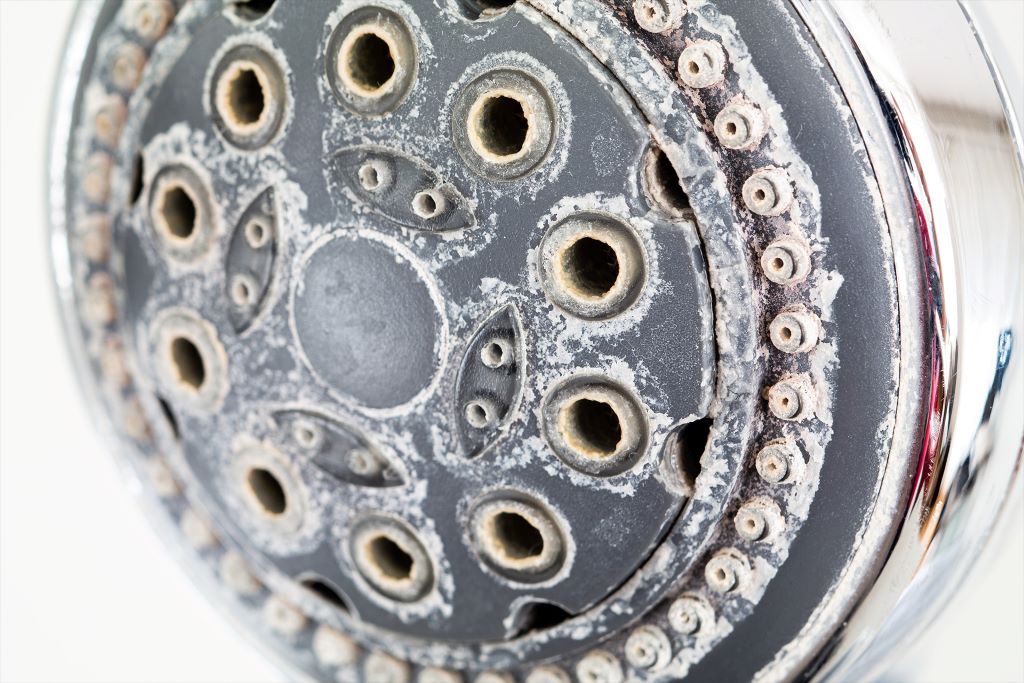
Over time, these parts can become corroded or clogged with mineral deposits from hard water. Calcium and lime buildup is particularly common in areas with high mineral content in the water supply. This buildup can cause the valve stem to stick in place, making it difficult or impossible to operate the faucet normally.
Temperature changes can also affect how these components function. Metal parts expand and contract with temperature fluctuations, sometimes causing temporary sticking that resolves once temperatures stabilize.
Initial Diagnosis Steps
Start by examining the faucet handle and surrounding area for obvious signs of damage or wear. Look for cracks, corrosion, or visible mineral buildup around the base of the handle. Try gently wiggling the handle to see if there’s any movement or play in the mechanism.
Test the stuck push pull water valve by applying gentle pressure in different directions. Sometimes a valve that seems completely stuck will move slightly with the right angle of pressure. Be careful not to use excessive force, as this can damage internal components and make the problem worse.
Check if the issue affects both hot and cold water or just one side. Single-side problems often indicate issues with that specific valve, while problems affecting both sides might suggest broader issues with the faucet assembly or water supply.
Tools and Materials You’ll Need
Gathering the right tools before starting will make your repair process much smoother. You’ll need an adjustable wrench, pliers, and a screwdriver set with both flathead and Phillips head options. A flashlight or headlamp will help you see into dark areas under the sink.
For cleaning and lubrication, collect white vinegar, baking soda, and plumber’s grease or silicone lubricant. Old rags or paper towels will help with cleanup, and a small brush or old toothbrush works well for scrubbing away buildup.
Consider having replacement parts on hand, including O-rings, washers, and valve seats. These components are relatively inexpensive and having them available can save you multiple trips to the hardware store.
Safety Precautions Before Starting
Always turn off the water supply before beginning any faucet repair work. Locate the shut-off valves under the sink and turn them clockwise until they’re completely closed. If you can’t find individual shut-off valves, you may need to turn off water at the main supply line.
Test that the water is actually off by trying to turn on the faucet. No water should come out once the supply is properly shut off. This step prevents flooding and water damage while you work on the repair.
Clear the area around your workspace and lay down towels to protect surfaces from water and debris. Having good lighting and easy access to your tools will make the job much easier and safer.
Step-by-Step Repair Process
Begin by removing the faucet handle, which usually requires locating a screw hidden under a decorative cap or behind the handle itself. Use the appropriate screwdriver to carefully remove this screw, then pull the handle straight up and away from the faucet body.
Once the handle is removed, you’ll see the valve stem assembly. This is where most stuck push pull water valve problems originate. Look for obvious signs of corrosion, mineral buildup, or damaged components that might be causing the sticking issue.
Clean all visible surfaces with a vinegar solution to dissolve mineral deposits. Let the vinegar sit for several minutes before scrubbing with a brush to remove stubborn buildup. Rinse thoroughly with clean water and dry all components before proceeding.
Cleaning and Lubrication Techniques
Create a cleaning solution using equal parts white vinegar and water. This mixture effectively dissolves calcium and lime deposits without damaging metal components. For particularly stubborn buildup, make a paste using baking soda and a small amount of water.
Apply the cleaning solution generously to all accessible parts of the valve mechanism. Pay special attention to areas where moving parts come into contact with each other, as these spots tend to accumulate the most debris and corrosion.
After cleaning, apply a thin layer of plumber’s grease or silicone lubricant to moving parts. This lubrication helps prevent future sticking and ensures smooth operation. Avoid using petroleum-based products, as these can damage rubber seals and gaskets.
Replacing Worn Components
Inspect O-rings and washers carefully for signs of wear, cracking, or hardening. These rubber components are often the culprit behind stuck valves and are relatively easy to replace. Take the old parts with you to the hardware store to ensure you get the correct size replacements.
Remove worn O-rings by carefully prying them out with a small flathead screwdriver. Be gentle to avoid scratching the surfaces where new O-rings will seat. Clean these areas thoroughly before installing new components.
Install new O-rings and washers, making sure they sit properly in their designated grooves. A light coating of plumber’s grease will help them slide into place and create better seals.
Reassembly and Testing
Reassemble the faucet in reverse order of disassembly, making sure all components align properly. Thread screws in by hand first to avoid cross-threading, then tighten with appropriate tools. Don’t over-tighten, as this can damage components or create new sticking problems.
Turn the water supply back on gradually, checking for leaks as pressure builds in the system. Test the faucet operation by gently pushing and pulling the handle through its full range of motion. The movement should be smooth and consistent.
If the valve still feels sticky or difficult to operate, there may be additional issues that require further disassembly or professional attention. However, most stuck push pull water valve problems resolve with proper cleaning and lubrication.
When to Call a Professional
Some situations require professional expertise, particularly if you encounter severely corroded components or complex internal damage. If multiple attempts at repair don’t resolve the issue, it’s time to consider professional help.
Signs that you need professional assistance include cracked valve bodies, damaged threads that prevent proper reassembly, or persistent leaking after multiple repair attempts. Professional plumbers have specialized tools and experience with complex faucet systems.
Consider the age and overall condition of your faucet when deciding between repair and replacement. Sometimes investing in a new faucet is more cost-effective than repeatedly repairing an old unit.
Preventive Maintenance Tips
Regular maintenance can prevent most stuck valve problems from developing in the first place. Clean your faucets monthly with vinegar solution to prevent mineral buildup. Pay attention to early signs of sticking or unusual resistance when operating the handles.
Consider installing a water softener system if you live in an area with very hard water. This investment will reduce mineral buildup throughout your plumbing system and extend the life of faucets, fixtures, and appliances.
Replace worn components promptly when you notice them during regular cleaning. Small preventive repairs are much easier and less expensive than major overhauls of severely damaged systems.
Conclusion
Fixing a stuck push pull water valve doesn’t have to be a daunting task for most homeowners. With the right tools, cleaning solutions, and a methodical approach, you can restore smooth operation to your faucet and avoid the expense of professional repairs. Remember that proper diagnosis is key to choosing the right repair strategy, and don’t hesitate to seek professional help if the problem persists after your best efforts. Regular maintenance and prompt attention to early warning signs will help prevent future valve problems and keep your faucets operating smoothly for years to come.
Frequently Asked Questions
Q: How often should I perform maintenance on my push-pull faucet valves? A: Clean your faucets monthly with vinegar solution and inspect components every six months. Replace worn O-rings and washers as needed to prevent sticking problems.
Q: Can I use WD-40 or other penetrating oils on stuck faucet valves? A: Avoid petroleum-based products like WD-40, as they can damage rubber seals. Use plumber’s grease or silicone-based lubricants specifically designed for plumbing applications.
Q: Why does my faucet valve stick more in winter than summer? A: Temperature changes cause metal components to expand and contract. Cold weather can make existing problems worse by causing parts to contract and increase friction between components.
Q: Is it normal for push-pull valves to require more force over time? A: No, increasing resistance usually indicates developing problems with mineral buildup or worn components. Address these issues promptly to prevent complete valve failure.
Q: How do I know if my faucet needs complete replacement rather than repair? A: Consider replacement if repairs cost more than half the price of a new faucet, if you’re making frequent repairs, or if the faucet body is cracked or severely corroded.
Read More:
Beyond the Wrench: 5 Ways Your Plumber Saves You More Than Just Money
You May Like
Can You Use Push Fit Fittings on Copper Pipe? What You Need to Know