
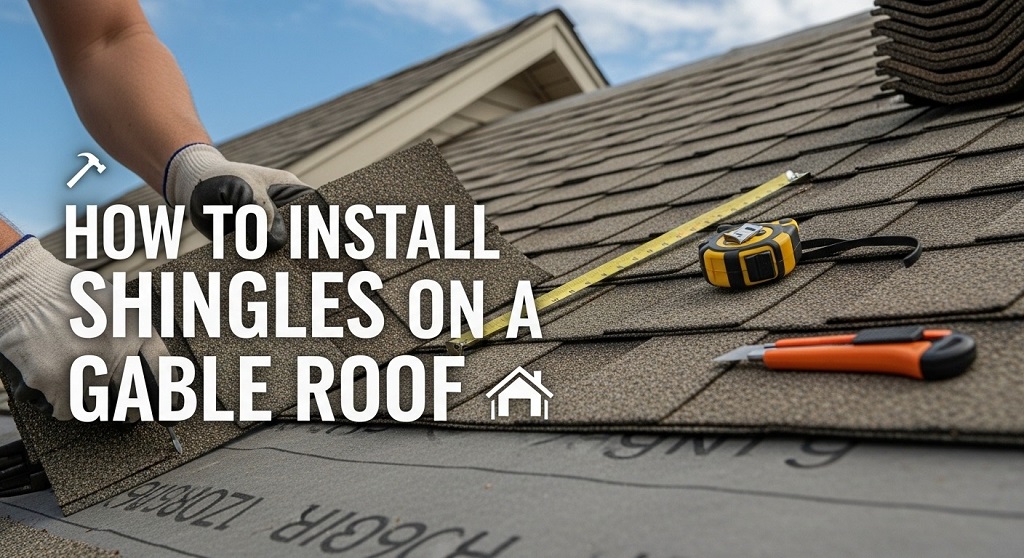
Installing asphalt shingles on a gable roof remains one of the most popular DIY roofing projects in America. Every year, homeowners save thousands by doing it themselves, and the process hasn’t changed much since the Asphalt Roofing Manufacturers Association refined best practices in the early 2000s. According to the U.S. Census Bureau, over 5 million roofing permits get pulled annually, with gable roofs making up roughly 65% of new single-family homes. You can absolutely join those successful DIYers. This complete 2025 guide walks you through every step safely and correctly.
Why Choose a Gable Roof for Shingles?
Gable roofs feature two sloping planes that meet at a ridge, creating perfect triangles on the ends. This simple design sheds water and snow quickly, which extends shingle life. Additionally, the even pitch (most commonly 4/12 to 12/12) makes walking and working far easier than on hip roofs or complex valleys. Builders and roofers love them for speed, and so will you when you nail your first course perfectly straight.
Tools and Materials You Need Before Starting
Gather everything first. Nothing kills momentum like running to the store mid-project.
Essential Tools:
- Roofing nailer (pneumatic saves hours) or hammer
- Chalk line and tape measure
- Utility knife with plenty of hook blades
- Roofing hatchet or shingle remover (for tear-offs)
- Straight-edge pry bar
- Tin snips
- Ladder stabilizers and roof brackets/jacks
- Harness and rope for slopes over 6/12
Core Materials:
- Asphalt shingles (architectural or 3-tab)
- 30-lb felt underlayment or synthetic (preferred in 2025)
- Ice-and-water shield (mandatory in cold climates)
- Starter strip shingles
- Ridge cap shingles
- 1¼-inch galvanized roofing nails
- Roofing cement and caulk gun
- Drip edge (metal)
Safety First – Never Skip These Steps
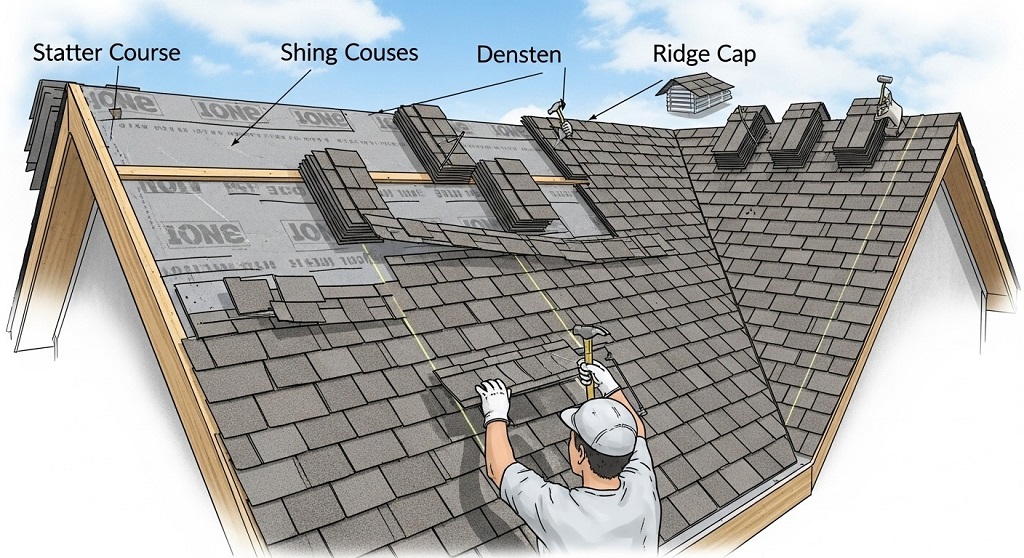
The National Safety Council reports that falls from roofs cause over 100 fatalities yearly. Protect yourself properly.
Always wear soft-soled shoes with good grip. Tie off with a harness on any roof steeper than 6/12. Set roof jacks every 8 feet when working low on the slope. Keep the work area clear of debris. Work with a partner when possible. Check the weather—no wind over 20 mph and never work in the rain.
Preparing the Roof Deck Properly
A smooth, solid deck determines 90% of your finished look and longevity.
First, strip old shingles completely if they’re worn or you have two layers already. Inspect plywood or OSB sheathing. Replace any damaged sheets and nail down loose ones with 8d ring-shank nails every 6 inches. Sweep the deck clean. Check that everything lies flat—no humps or nails sticking up.
Installing Drip Edge and Underlayment
Modern codes and best practices demand this sequence.
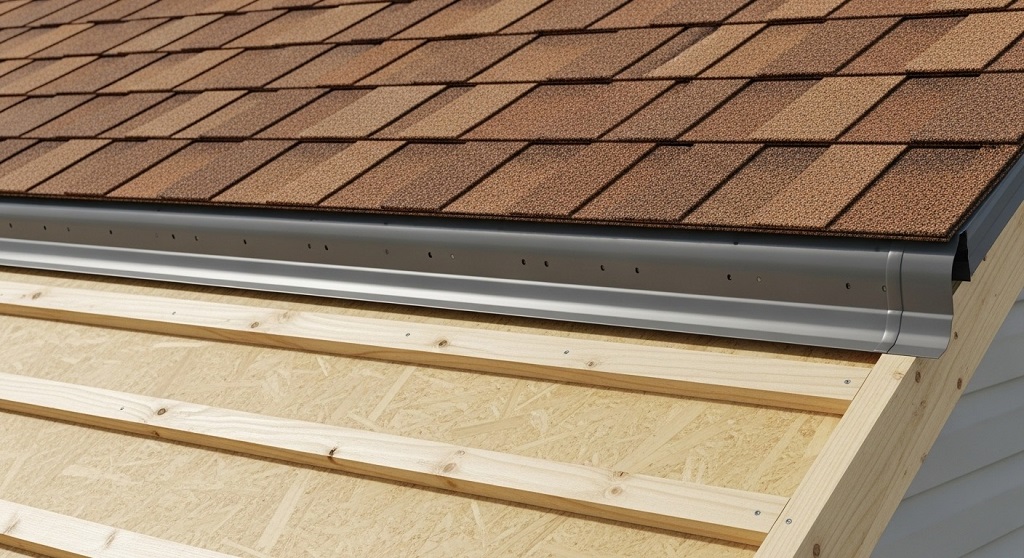
Along the eaves, install drip edge directly on the deck. Nail every 8–10 inches. Next, roll out ice-and-water shield in valleys and along eaves (minimum 24 inches up from the inside wall plate in cold regions). Overlap the ice shield with 30-lb felt or synthetic underlayment by 6 inches. Run rows horizontally, overlapping 2–4 inches and nailing with plastic cap nails every 8 inches. At the rakes (gable ends), install drip edge on top of the underlayment.
Laying the Starter Course Perfectly
Your starter strip sets the entire pattern. Mess this up and every row looks crooked.
Use actual starter shingles or cut 3-tab shingles so the tabs face up the roof. Overhang the drip edge by ⅜ to ¾ inch. Nail 4–6 nails per shingle, placed 3–4 inches up from the eave and just above the sealant strip. Begin in the center and work both ways, or start at one rake and keep the line straight with a chalk line every few courses.
How to Install Shingles on a Gable Roof – The Main Field
Follow the pattern exactly for water-tight performance.
Step-by-step field installation:
- Snap horizontal chalk lines every 5 inches (one shingle exposure) to keep rows straight.
- Start the first full course with a full shingle flush to the starter edge.
- Cut 6 inches off the first shingle of the second course, 12 inches off the third, and so on (standard 6-inch stagger).
- Nail each shingle with 4–6 nails about ⅝ inch above the cutouts and 1 inch from each end (check manufacturer specs).
- Maintain a consistent 5–5⅝ inch exposure depending on your shingle type.
- Work diagonally up the roof to distribute your weight evenly.
Cutting and Fitting Around Gable Ends
Keep the rake edge clean and straight.
Trim shingles flush or with a 1-inch overhang, whichever your drip-edge detail requires. Use a straight edge and sharp hook blade. Snap a chalk line parallel to the rake 1 inch out from the deck edge as your cutting guide. Install rake edge metal over the top if your system calls for it.
Handling Valleys Correctly
Two main methods work well in 2025—closed-cut and woven. Both outperform old-school open metal valleys for asphalt shingles.
For closed-cut valleys (most common): Run shingles from both sides across the valley. Snap parallel chalk lines 6 inches apart (3 inches each side of center). Cut the shingles from the dominant roof side flush to the chalk line. Weave the other side under. Seal every cut edge with roofing cement.
Installing Ridge Caps and Ventilation
Finish strong with proper caps and airflow.
Pre-made ridge caps save time and look better than hand-cut 3-tabs. Start at the end opposite the prevailing wind. Overlap each cap 5–6 inches and nail through the overlap zone. Use two long nails per cap. Install ridge vent if your attic needs more airflow—cut a 1-inch slot on both sides of the ridge and cover with the vent material before capping.
Common Mistakes DIYers Make (And How to Avoid Them)
Even experienced roofers slip up sometimes.
- Nailing too high or too low—always follow the nailing zone printed on the wrapper.
- Poor staggering—never line up joints closer than 4 inches vertically.
- Skipping ice-and-water shield in eaves—guarantees ice dams.
- Walking on hot shingles in summer—leaves footprints and voids warranties.
- Cutting corners on drip edge—leads to wind-driven rain under the roof.
Cleanup and Final Inspection
Leave the job site cleaner than you found it.
Use a magnetic roller to pick up every stray nail. Sweep gutters and blow debris off the roof. Walk the entire surface and look for lifted corners, exposed nails, or crooked lines. Fix anything now while materials are handy.
How Long Does It Really Take?
A 2,000-square-foot gable roof with a 6/12 pitch takes two competent people 3–5 days from tear-off to cleanup. Tear-off adds a full day. New construction goes faster—often two days total.
Related Topics: Explaining Biocidal vs. Biostatic Algae Control
When to Call a Professional Instead
Consider hiring help if your roof exceeds 8/12 pitch, stands three stories high, or has multiple chimneys and skylights. Also hire out if you have any physical limitations—your safety matters more than savings.
You now own the complete knowledge to shingle a gable roof correctly in 2025. Grab your tools, line up a helper, and transform your house this weekend. Your future self (and your dry basement) will thank you.
Related Topics: Natural Body Symmetry Treatments Japan
FAQs
How many nails per shingle should I use on a gable roof?
Use 4 nails per 3-tab shingle and 6 nails per architectural/laminate shingle in normal conditions. Switch to 6 nails minimum when wind speeds exceed 110 mph in your area.
Can I install shingles over old ones on a gable roof?
You may overlay one layer only if the existing roof lies flat with no damage. Most pros and manufacturers strongly recommend full tear-off for best results and longer life.
What slope is too steep to shingle a gable roof myself?
Anything over 9/12 becomes risky for most homeowners. Use roof jacks and a harness up to 12/12, but beyond that, hire professionals with proper steep-slope equipment.
Do I need ice and water shield on a gable roof in warm climates?
Building codes in warm states usually require it only in valleys and eaves up 24 inches. However, adding full-deck ice-and-water shield dramatically improves storm resistance everywhere.
How do I match new shingles to my existing gable roof?
Take a sample shingle to the store and compare in natural daylight. Same manufacturer and product line from the last 5–7 years usually blends well enough.
References
- Asphalt Roofing Manufacturers Association (ARMA) – Technical Bulletins: https://asphaltroofing.org
- International Residential Code (IRC) 2021 Chapter 9 – Roof Assemblies: https://codes.iccsafe.org
- OSHA Fall Protection Standards for Roofing: https://www.osha.gov/fall-protection
You May Like
Can You Use Push Fit Fittings on Copper Pipe? What You Need to Know