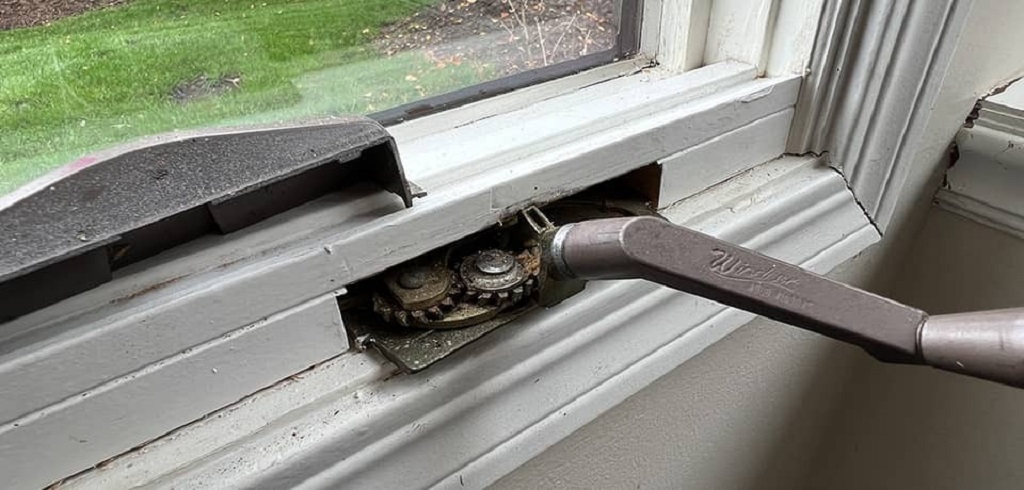
Windows with crank assemblies, often found in casement or awning styles, provide excellent ventilation and a classic look for any home. However, over time, these mechanisms can wear out, making it difficult to open or close the window smoothly. Learning how to replace a window crank assembly can save you money and restore your window’s functionality. For DIY enthusiasts, including those who enjoy guides from The kindle3 books, this task is manageable with the right tools and steps. This article provides a clear, step-by-step guide to replacing a window crank assembly, ensuring your windows work like new.
Why Replace a Window Crank Assembly?
A window crank assembly, also called a casement window operator, controls the opening and closing of the window. Wear and tear, rust, or damage from forceful use can cause the crank to malfunction. Signs you need a replacement include difficulty turning the handle, grinding noises, or a window that won’t stay open. Fortunately, replacing the assembly is straightforward. For a detailed tutorial, check out this guide on how to replace a window crank assembly to complement the steps below.
Tools and Materials Needed
Before starting, gather the necessary tools and materials to ensure a smooth process. Having everything ready prevents interruptions and makes the job easier. Here’s what you’ll need:
- Replacement window crank assembly (specific to your window brand and model)
- Screwdriver (Phillips or flathead, depending on your window)
- Pliers
- Lubricating oil (e.g., WD-40)
- Cleaning cloth
- Putty knife (optional, for removing stuck covers)
- Safety gloves and glasses
Always double-check that the replacement crank matches your window’s specifications. Consult your window’s manual or contact the manufacturer to confirm compatibility.
Step-by-Step Guide to Replacing a Window Crank Assembly
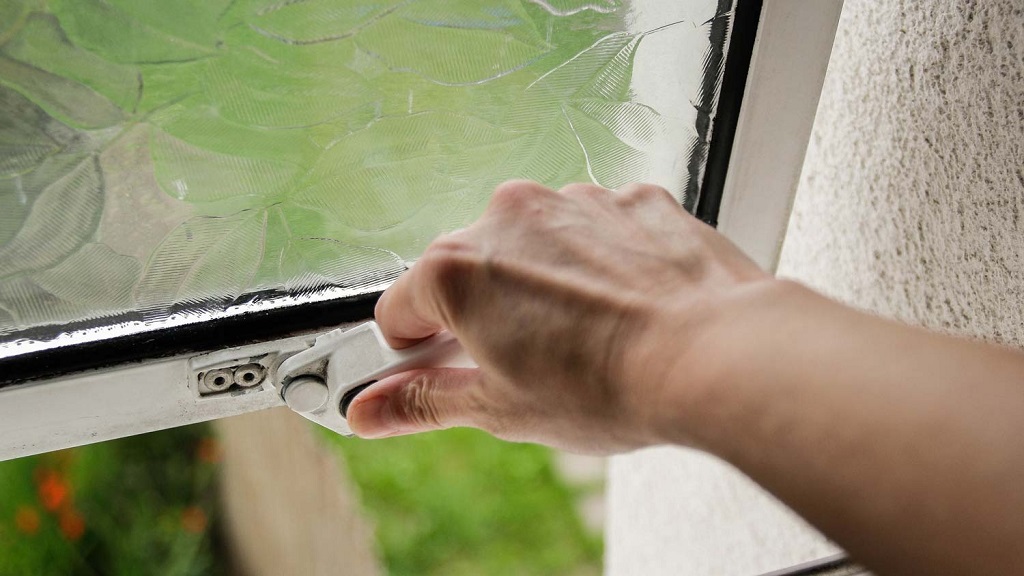
Follow these steps to replace your window crank assembly efficiently. Each step is designed to be clear and easy to follow, even for beginners.
Step 1: Remove the Crank Handle
First, locate the crank handle. Most handles are attached with a single screw or clip. Use a screwdriver to remove the screw, or gently pry off the clip with pliers. Once removed, set the handle aside. If the handle is stuck, apply a small amount of lubricating oil to loosen it. Wipe away excess oil with a cleaning cloth to keep the area clean.
Step 2: Detach the Window Crank Cover
Next, remove the cover or escutcheon plate surrounding the crank mechanism. This plate is usually secured with screws or clips. Use a screwdriver to remove any screws, or carefully pry the cover off with a putty knife if it’s clipped in place. Be gentle to avoid damaging the window frame or surrounding area. Set the cover aside for reassembly later.
Step 3: Remove the Old Crank Assembly
With the cover off, you’ll see the crank assembly attached to the window frame. It’s typically held in place by several screws. Use your screwdriver to remove these screws, keeping them in a safe place for reuse or reference. Once the screws are removed, gently pull the crank assembly out of the window frame. If it’s stuck, wiggle it carefully or use pliers to assist. Avoid forcing it, as this could damage the window.
Step 4: Inspect and Clean the Window Frame
Before installing the new crank assembly, inspect the window frame for dirt, rust, or debris. A clean surface ensures the new assembly fits properly and operates smoothly. Use a cleaning cloth and mild detergent to wipe down the area. If rust is present, apply a rust remover and let it sit for a few minutes before cleaning. Dry the area thoroughly to prevent moisture damage.
Step 5: Install the New Crank Assembly
Take your new crank assembly and position it in the same location as the old one. Align the screw holes with those in the window frame. Secure the assembly by reinserting the screws you removed earlier or using new ones provided with the replacement kit. Tighten the screws firmly but avoid overtightening, which could strip the holes or damage the frame. Test the crank by turning it gently to ensure it moves smoothly.
Step 6: Reattach the Cover and Handle
Once the new assembly is in place, reattach the cover or escutcheon plate. Secure it with the original screws or clips, ensuring it sits flush against the frame. Then, attach the crank handle by reversing the removal process. Tighten the screw or clip to secure the handle. Test the crank again to confirm it operates correctly and opens/closes the window without resistance.
Step 7: Test the Window’s Functionality
Finally, test the window thoroughly. Open and close it several times to ensure the crank operates smoothly and the window seals properly. Listen for any unusual noises, such as grinding or squeaking, which could indicate improper installation. If issues arise, double-check the alignment of the crank assembly or lubricate moving parts as needed. A properly installed crank should feel effortless to use.
Tips for a Successful Replacement
To make the process even smoother, consider these additional tips:
- Work in a well-lit area to see small screws and components clearly.
- Take photos before disassembling to reference during reassembly.
- If unsure about the replacement part, consult a professional or the window manufacturer.
- Apply lubricating oil to moving parts after installation to ensure long-term performance.
- Wear safety gloves and glasses to protect against sharp edges or debris.
Common Mistakes to Avoid
Even simple DIY projects can go wrong without proper care. Here are common mistakes to watch for:
- Using the wrong replacement crank: Always verify compatibility with your window model.
- Overtightening screws: This can strip the screw holes or crack the frame.
- Skipping cleaning: Dirt or rust can affect the new assembly’s performance.
- Forcing components: If parts don’t fit easily, double-check alignment or compatibility.
By avoiding these pitfalls, you’ll ensure a successful replacement and a fully functional window.
FAQs About Replacing a Window Crank Assembly
Here are answers to five common questions about replacing a window crank assembly:
How do I know if my window crank needs replacing?
If the crank is hard to turn, makes noises, or the window doesn’t open/close properly, it likely needs replacement.
Can I replace a window crank without professional help?
Yes, with basic tools and careful steps, most homeowners can replace a crank assembly themselves.
Where can I find the right replacement crank?
Check with your window’s manufacturer, hardware stores, or online retailers. Ensure the part matches your window’s brand and model.
How long does it take to replace a window crank assembly?
The process typically takes 30–60 minutes, depending on your experience and the window’s condition.
What should I do if the new crank doesn’t work smoothly?
Check for loose screws, misalignment, or debris. Lubricate moving parts or consult a professional if issues persist.
Read More Also: The Best Strawberry Banana Pudding Recipe – Quick & Tasty
Conclusion
Replacing a window crank assembly is a practical DIY project that can restore your window’s functionality and improve your home’s comfort. By following the steps outlined—removing the old crank, cleaning the frame, installing the new assembly, and testing the window—you can complete the task efficiently. Additionally, using the right tools, avoiding common mistakes, and referring to reliable resources like those from The kindle3 books ensure success. With patience and care, your windows will operate smoothly for years to come.
You May Like
Can You Use Push Fit Fittings on Copper Pipe? What You Need to Know